what guide you can get in this post?
in this post you will understand how to make extension from start to end step by step clearly
step 1:
download note pad++
it won't be in your PC usually download form needed to edit code
step 2:
download git bash (mingw)
it is for cloning,java to aix compiling
step 3:
download: Ant 1.10.1 (Binary Distributions)-( apache-ant-1.10.1-bin.zip)
this is old version but required version
like this
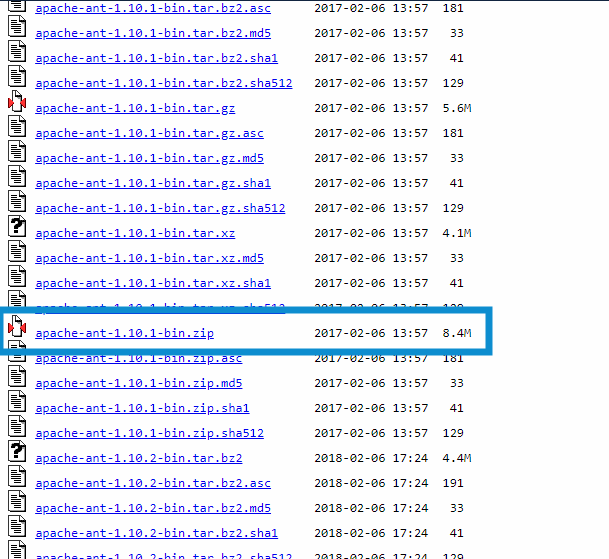
(scroll down to find this)
step 4:
download java develepment kit jdk for 64 bit
download java develepment kit jdk for 32 bit
note: 32 bit website is fine working but not official website i say it only because the official website is having some issues
step 5:
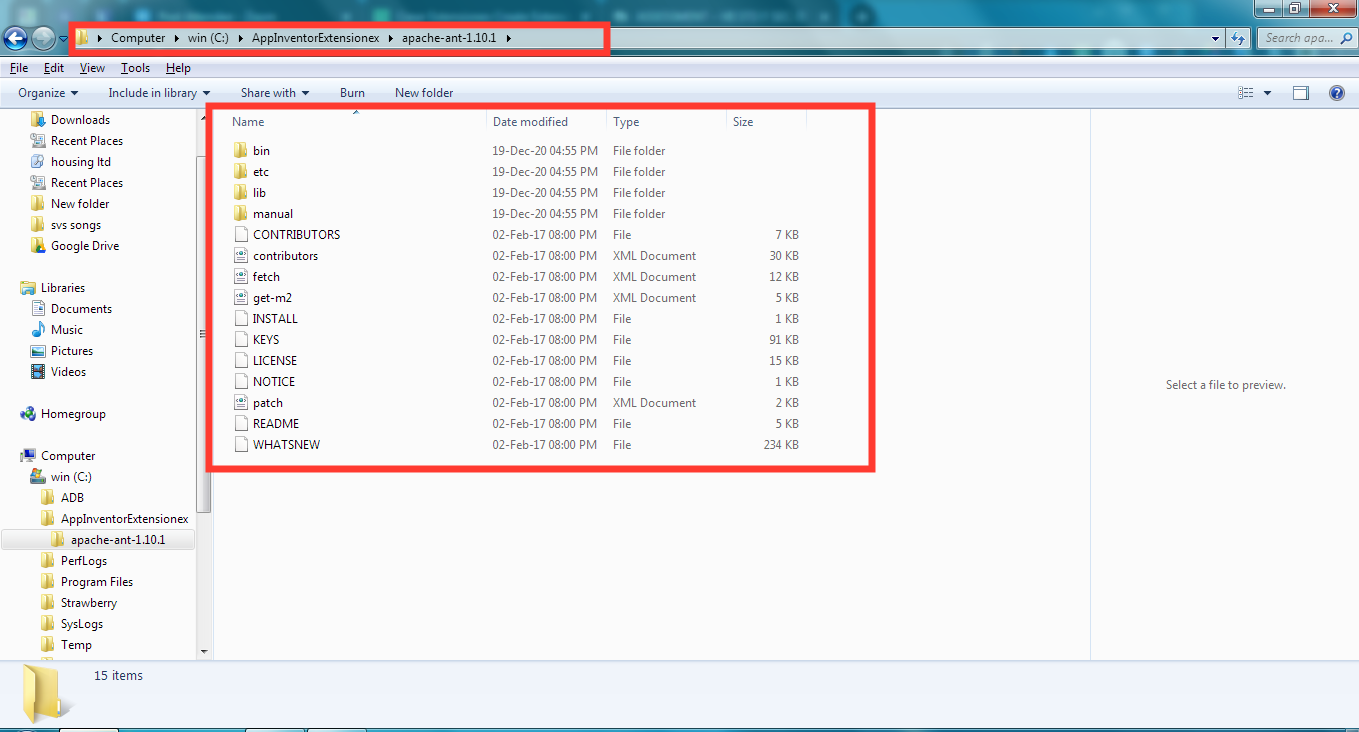
Unzip Apache Ant . When it unzips it must be like:
C: \ AppInventorExtensionex \ apache-ant-1.10.1-bin * then those files
step 6:
install git bash with default settings,
install the Java SE Development Kit . You may get errors, restart your computer and try to install it again.
step 7:
this is a bit complicated part do carefully
first
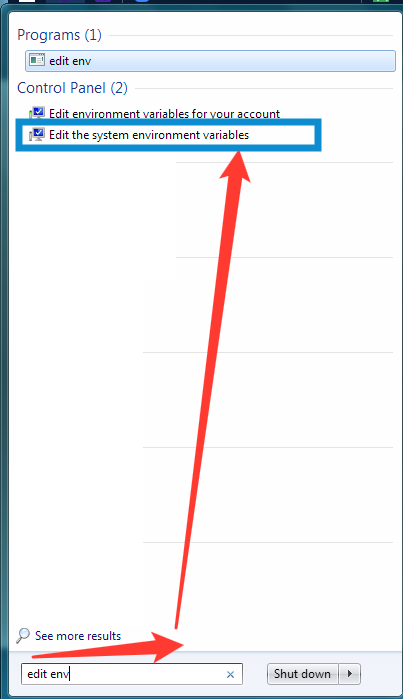
now
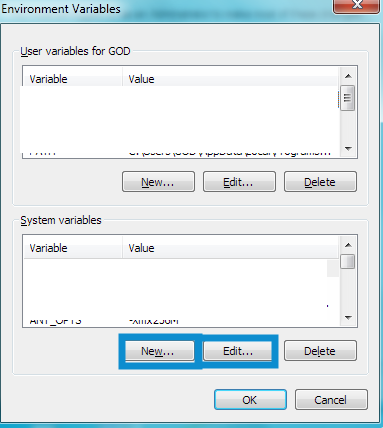
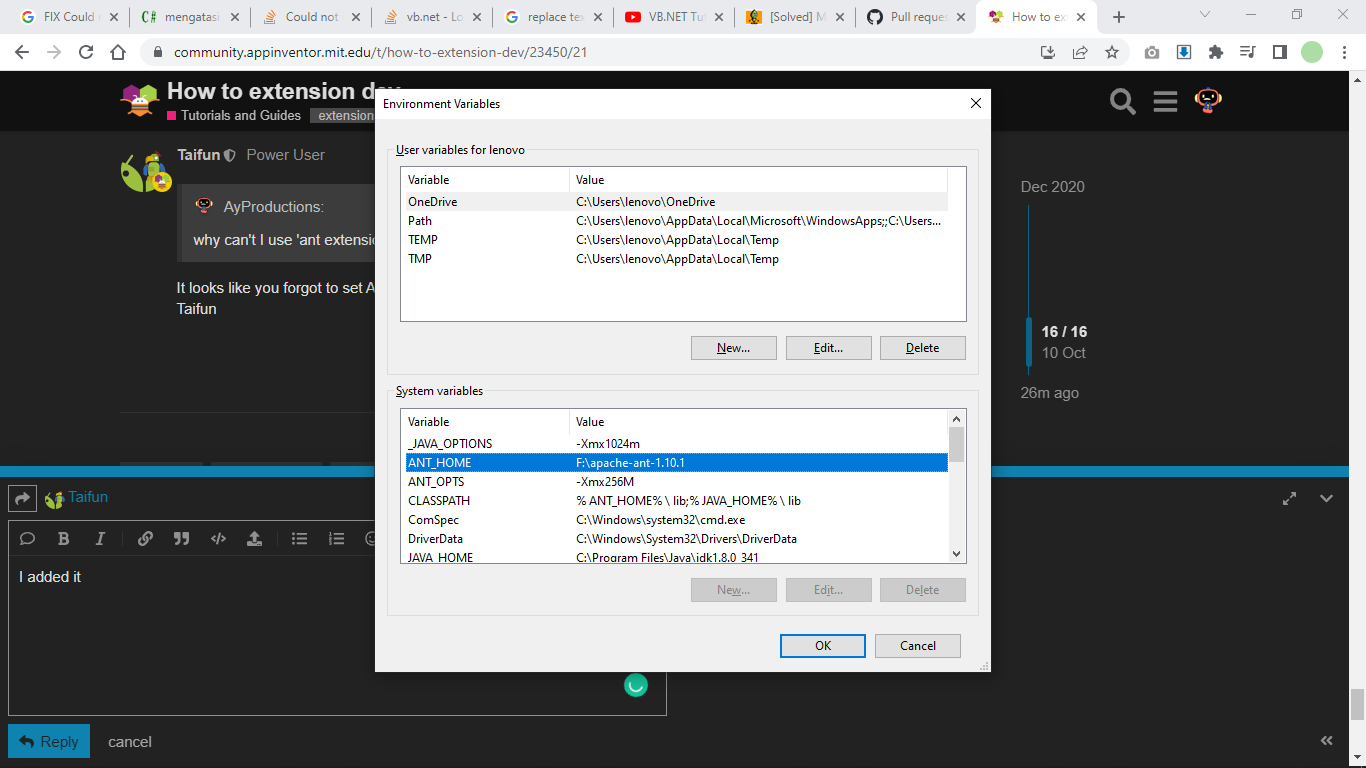
use only these two buttons not any other buttons at the following commands bellow
new-->
_JAVA_OPTIONSput Value-Xmx1024m
new-->
ANT_HOMEput ValueC: \ AppInventorExtensiones \ apache-ant-1.10.1-bin
[that is, the folder where we have unzipped apache-ant ]
new-->
ANT_OPTSput Value-Xmx256M
new-->
JAVA_HOMEput ValueC: \ Program Files \ Java \PUT THE FOLDER NAME HERE LIKE jdk1.8.0_131
in my case value isC:\Program Files\Java\jdk1.8.0_271
note- [If it had another previous Variable, modify it with edit button and modify. Note that it is jdk NOT jdr ]
new-->
CLASSPATHput Value% ANT_HOME% \ lib;% JAVA_HOME% \ lib
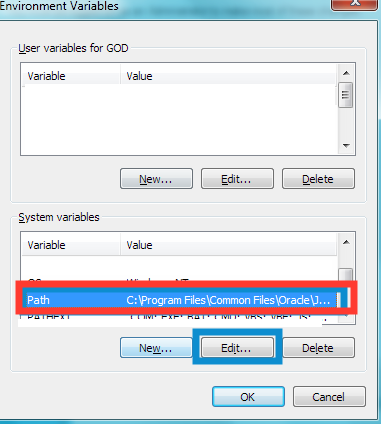
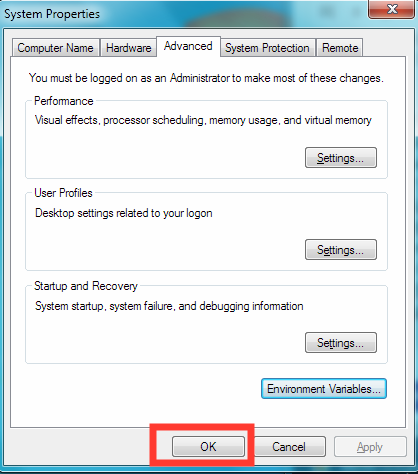
edit--> In PATH we add
;% ANT_HOME% \ bin;% JAVA_HOME% \ bin** [Note that it begins with a semicolon; to add to those that already were.] in my case there i edit the path
i added;at end and put the variables then gave ok finally it will be like
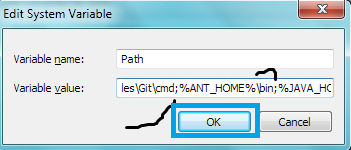
now give ok and come out
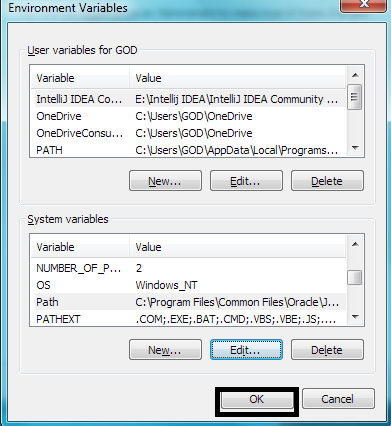
done the hard work great job clap for you ![]()
![]()
now open git bash
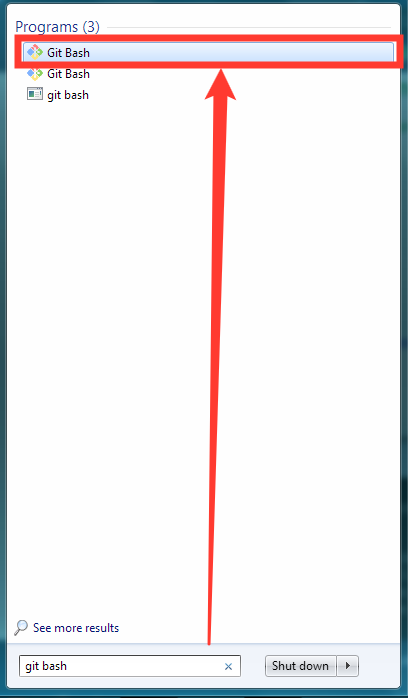
we need git bash always for the extension development
thus having the black UI will not be fine
thus change it
right click in the top bar
select option change theme
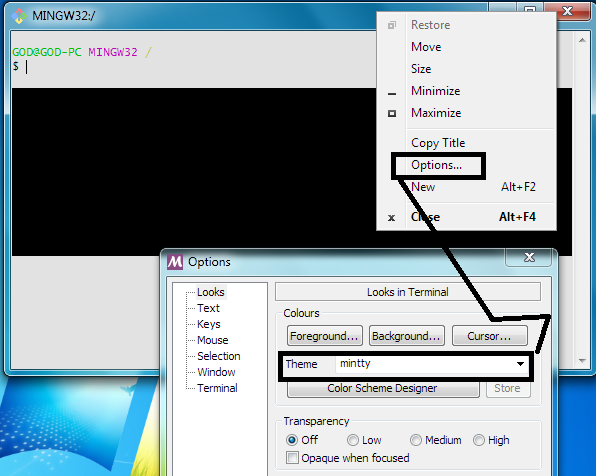
i like mintty a lot
save the theme
now
write the following command
git clone https://github.com/mit-cml/appinventor-sources.git
copy this and don't paste easily it wont work for Ctrl+v
to paste or copy from here right click somewhere to get options now paste
and click enter within some time (15-30 min) it will be ready and show a message like

at the end
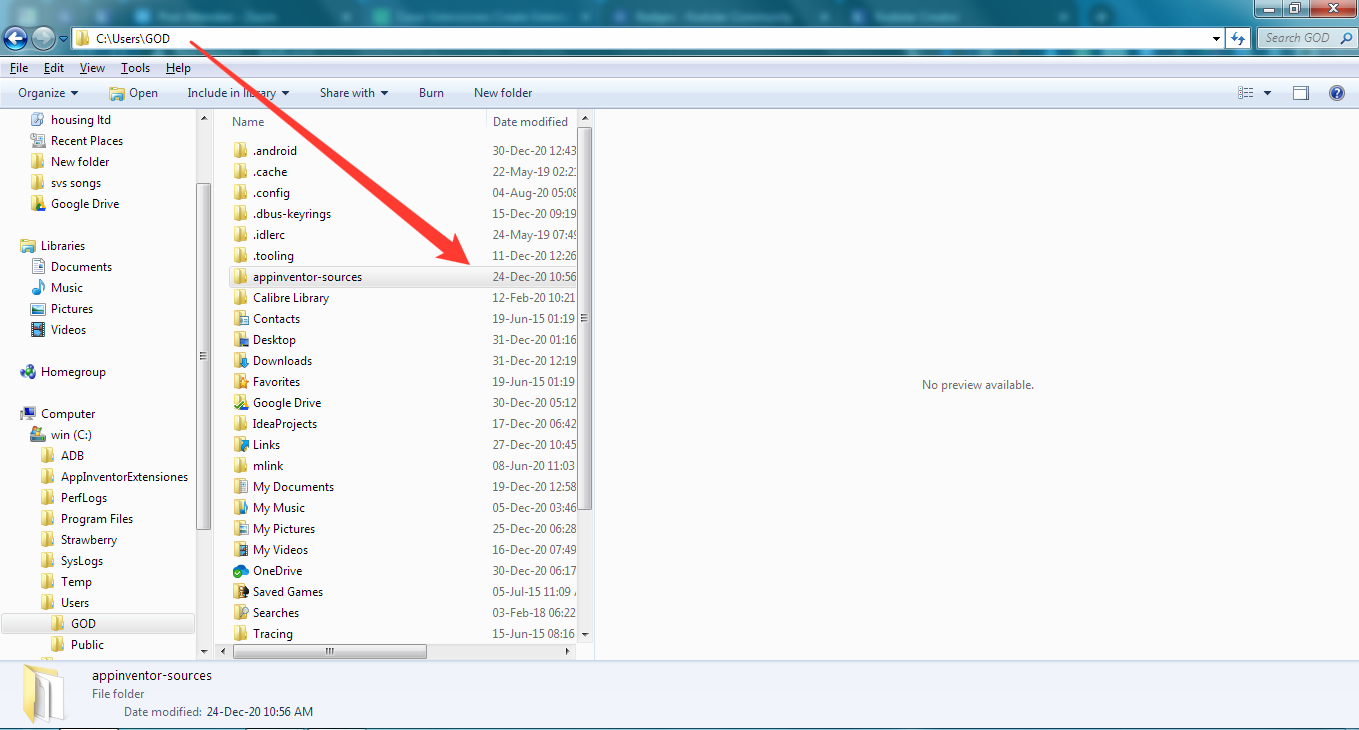
now in C: \ Users \ YOUR PC NAME\ appinventor-sources you find what you cloned that's it you are ready to code ![]()
![]()
step 7:
C:\Users\YOUR PC NAME\appinventor-sources\appinventor\components\src
- here create a folder named edu
- create a folder with your name or company name (no spaces)
- create a folder with your first extension name(no spaces)
- create a java file(no spaces)
now open note pad++ -->create a new file (java file)
as shown bellow
step 8:
edit the file you created with a java code
its time to learn java android ![]()
![]()
![]()
so you can learn some from
Search results for 'open source #extensions' - Kodular Community
Guide for beginner Extension Developers - Resources - Kodular Community
and google ![]()
to create a block of colour(property get,set,function ,return..)
use these links
step 9:
go to C:\Users\YOUR NAME\appinventor-sources\appinventor right click on open spaces and choose git bash here

and write the following command ant extensions
within a minute if your code is correct it will show success and your aix file will be in
C:\Users\YOUR NAME\appinventor-sources\appinventor\components\build\extensions
step 10:
open app inventor
create a project-->import extension then choose the extension file in C:\Users\YOUR NAME\appinventor-sources\appinventor\components\build\extensions
now enjoy ![]()
![]()
![]()
if you need any help PM me or create a topic here Extension Development - MIT App Inventor Community
thanks,