Update (2023-10-31): there is currently an issue loading a project that contains assets, or when trying to add an asset to an asset-less project running in companion. Will advise if it gets resolved.
This guide aims to show you how you can use Androidx86 as an emulator for AppInventor AI2. Androidx86 is currently running Android 9, but they are working on stable versions of Android 10+) I will not go into the full details of setting up VirtualBox or how to install Androidx86 from an iso to a virtual machine, this information is available elsewhere.
I carried out the installation and setup on Xubuntu 22.04 LTS, but this should also be possible on Microsoft Windows and Apple Macintosh
BASIC SETUP
Download the Androidx86 iso
I used this one, current stable at time of writing.
Install / Setup VirtualBox
Create new 64 bit (Ubuntu) Virtual Machine (VM)
I called my VM "Androidx86"
Load the Androidx86 iso
Install Androidx86 to the VM
Close
Remove the loaded iso
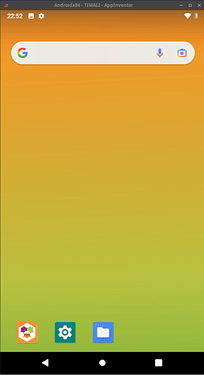
Boot up your Androidx86 VM, you should get a tablet sized Android interface
ANDROIDx86 SETTINGS
Find a display setting that works for you, for me 540x960x32 works well enough for my needs.
Fix the display setting - follow one or both of the two links below to see how
https://www.youtube.com/watch?v=VHwOyrWodS4
https://4sysops.com/archives/change-the-screen-resolution-of-an-android-virtualbox-vm/
On the Androidx86 VM, download and install the AI2 x86 Emulator from here (this is the direct link from MIT):
http://ai2.appinventor.mit.edu/companions/Emulator.apk
Give Companion App: Storage (read/write) permissions in App Settings
You may need to play with the wifi settings to get it working correctly:

Set the emulator Date/Time to match your local Date/Time, otherwise you get USA EST.
VIRTUALBOX SETTINGS
Edit the vbox file with required extras...you can/should do this using the VBoxManage (.exe) command when the VM is closed
for example:
VBoxManage setextradata "Androidx86" "CustomVideoMode3" "540x960x32"
<ExtraDataItem name="CustomVideoMode3" value="540x960x32"/>
Prevent stupid sidebars from showing in VM
How to disable notification panel on the right? V. 7.0.2 - virtualbox.org
You can do this with VBoxManage commands when VM is not running
VBoxManage setextradata global GUI/SuppressMessages confirmGoingFullscreen,remindAboutMouseIntegration,remindAboutAutoCapture
<ExtraDataItem name="GUI/SuppressMessages" value="confirmGoingFullscreen,remindAboutMouseIntegration,remindAboutAutoCapture"/>
Untick Menu and Status Bars - to provide a cleaner interface
Set Network Adapter to Bridged
Drag and Drop not working for me, YMMV
Set up the integrated mouse control
If you wish, you can change the icon that your VM uses:
VBoxManage modifyvm Androidx86 --iconfile "/home/user/Pictures/myimage150.png"
HOST
Create a bash script to load the VM (you will need something different for MS Win / Mac). This starts the VM and positions it on my second screen. It also renames the window title 
#!/bin/bash
##start androidx86 emulator and rename
##to find vms run: VBoxManage list vms

##starts androidx86 emulator
VBoxManage startvm "Androidx86" &
sleep 12
##sets window position
wmctrl -r "Androidx86 [Running]" -e 0,1363,69,540,960
## changes title
wmctrl -r "Androidx86 [Running]" -N "Androidx86 - TIMAI2 - AppInventor"
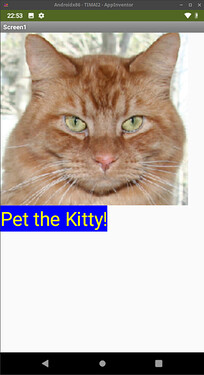
When all that is done, you should be able to connect AI2 to your emulator:
Check that your virtual device is on the same subnet
Make sure you always tick the Legacy box
NOTES
- The VM takes @ 30 seconds to boot up on my system
- You will find that resetting the connection to the companion app does not close the companion app, you will have to do this manually (this was the same with genymotion), this is made easier if device default theme is used.
- To run an app in Landscape, you will need to add another extra value e.g.
960x540x32, and select this fromgrubwhen you run the VM. - With use, I have found that if I leave the VM open for a few hours, without using it, the mouse goes AWOL, and I have to reboot/restart the VM
- If, instead of Powering Off, save the VM state, loading up the VM then only takes a few seconds, and you are ready to go.
If I get time or so inclined, I might modify the Androidx86 iso to incorporate some of these settings.


