I've been trying to do this for several weeks without success.
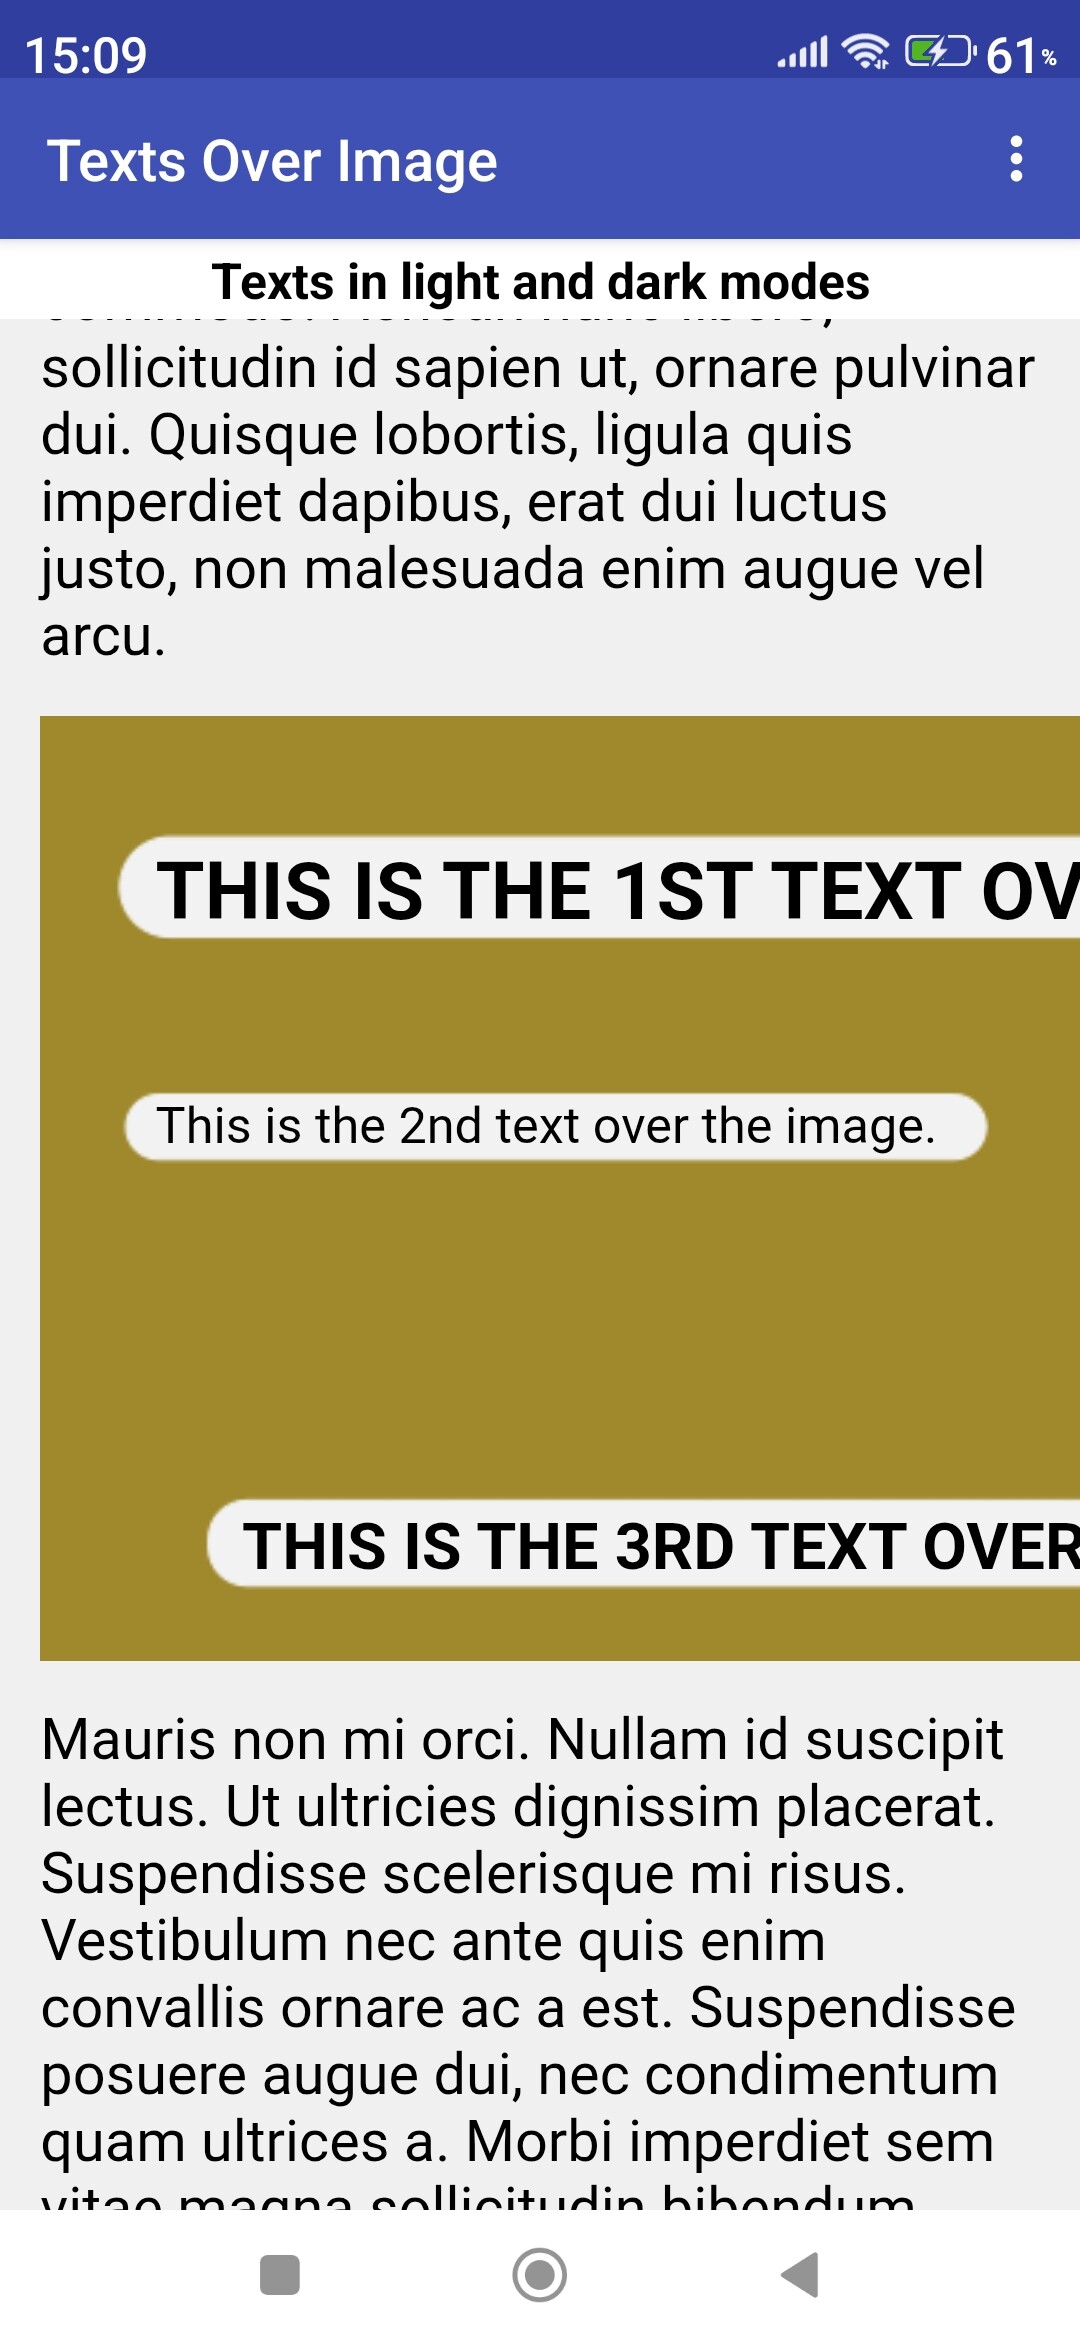
My goal is to display the content of an HTML file in WebViewer. This content consists of text, images, and text placed on the images. But this should work in both light and dark mode (i.e., if the phone is in either light or dark mode).
I would achieve this goal using CSS.
I have uploaded the .aia file of my project here, which contains the HTML file and the image.
Also I have uploaded two screenshots from my phone.
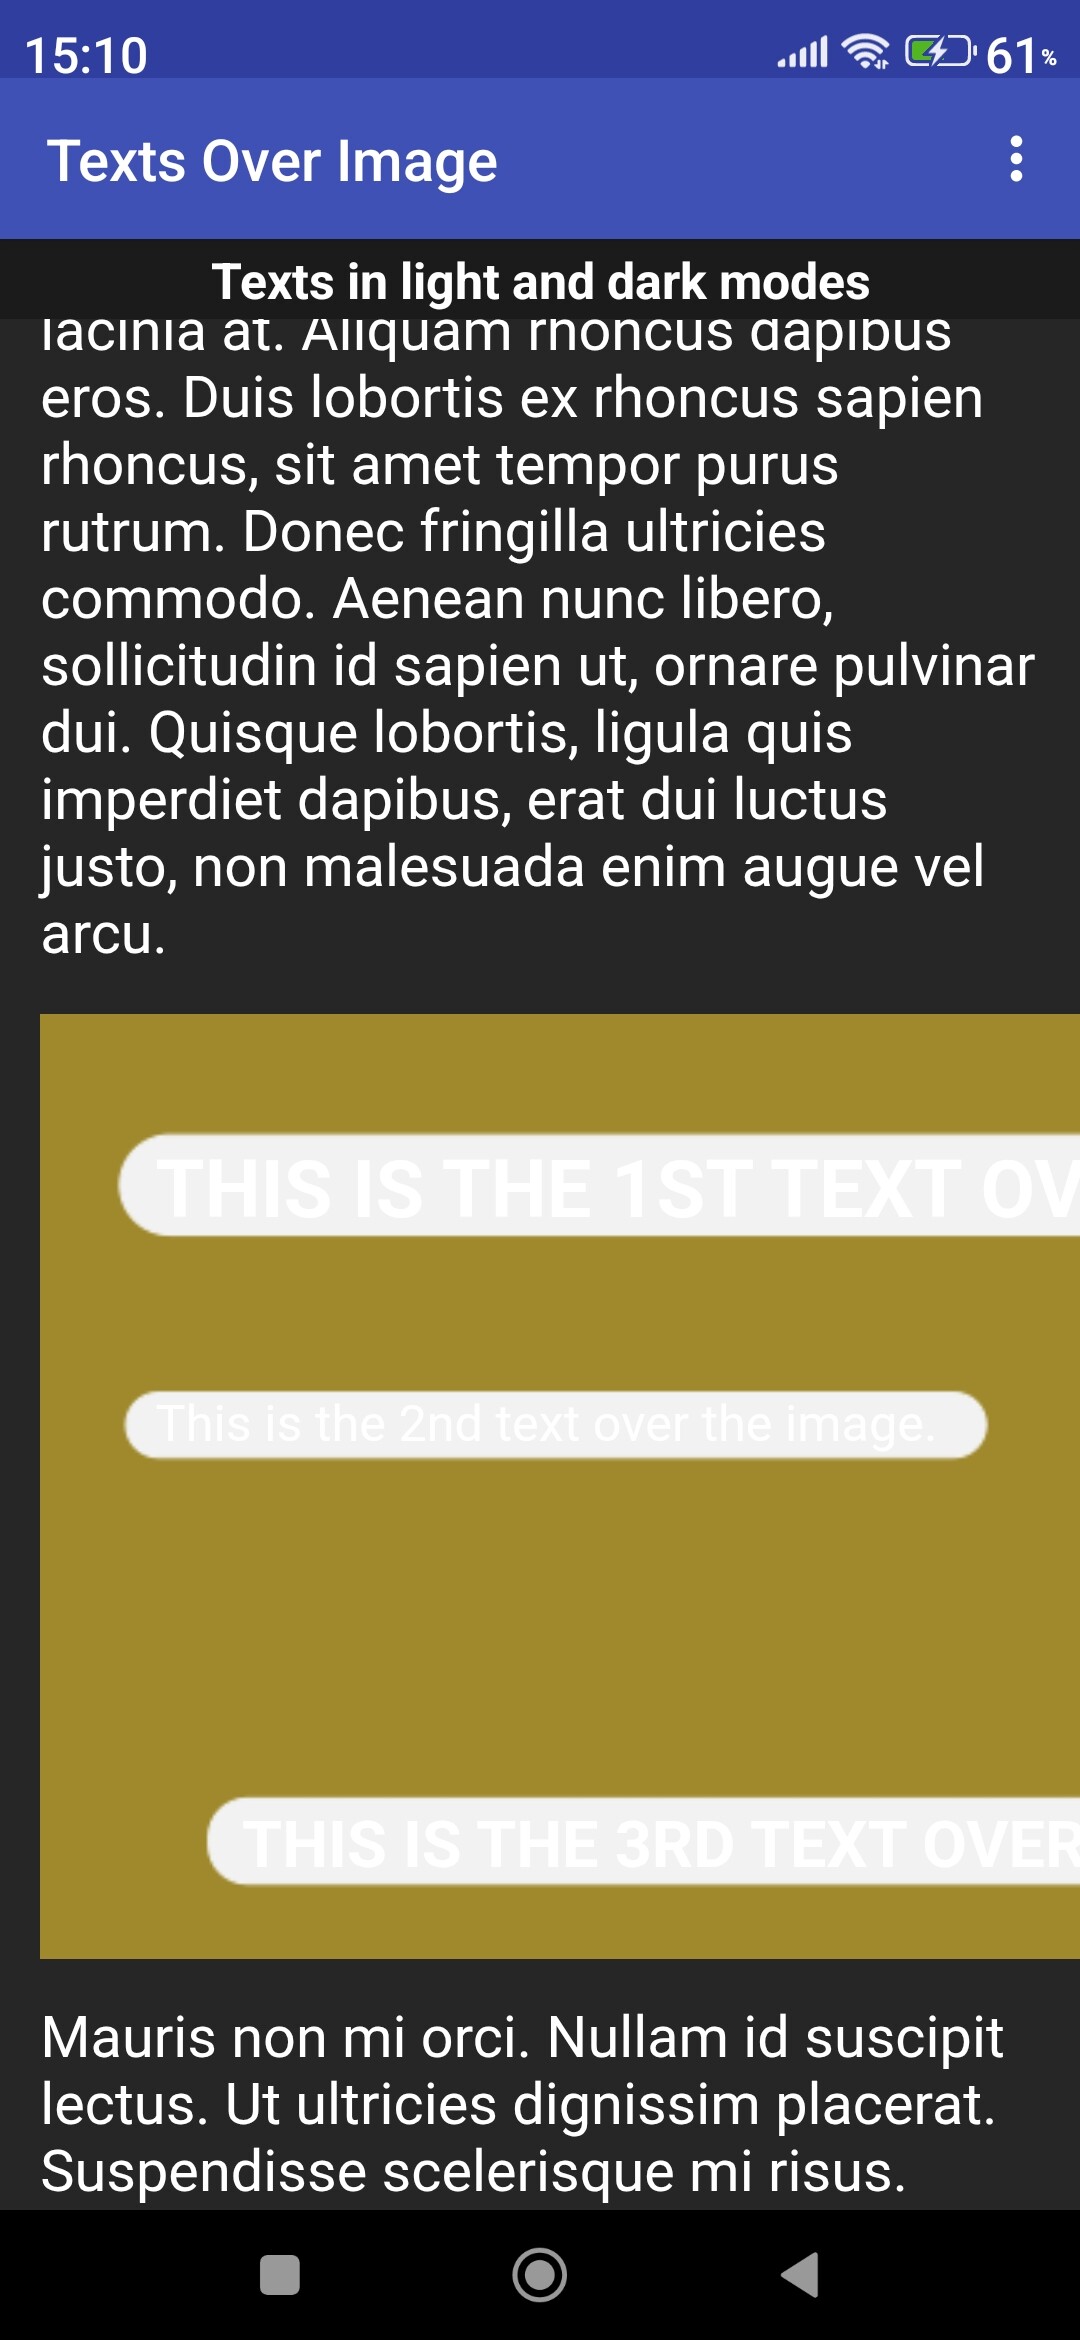
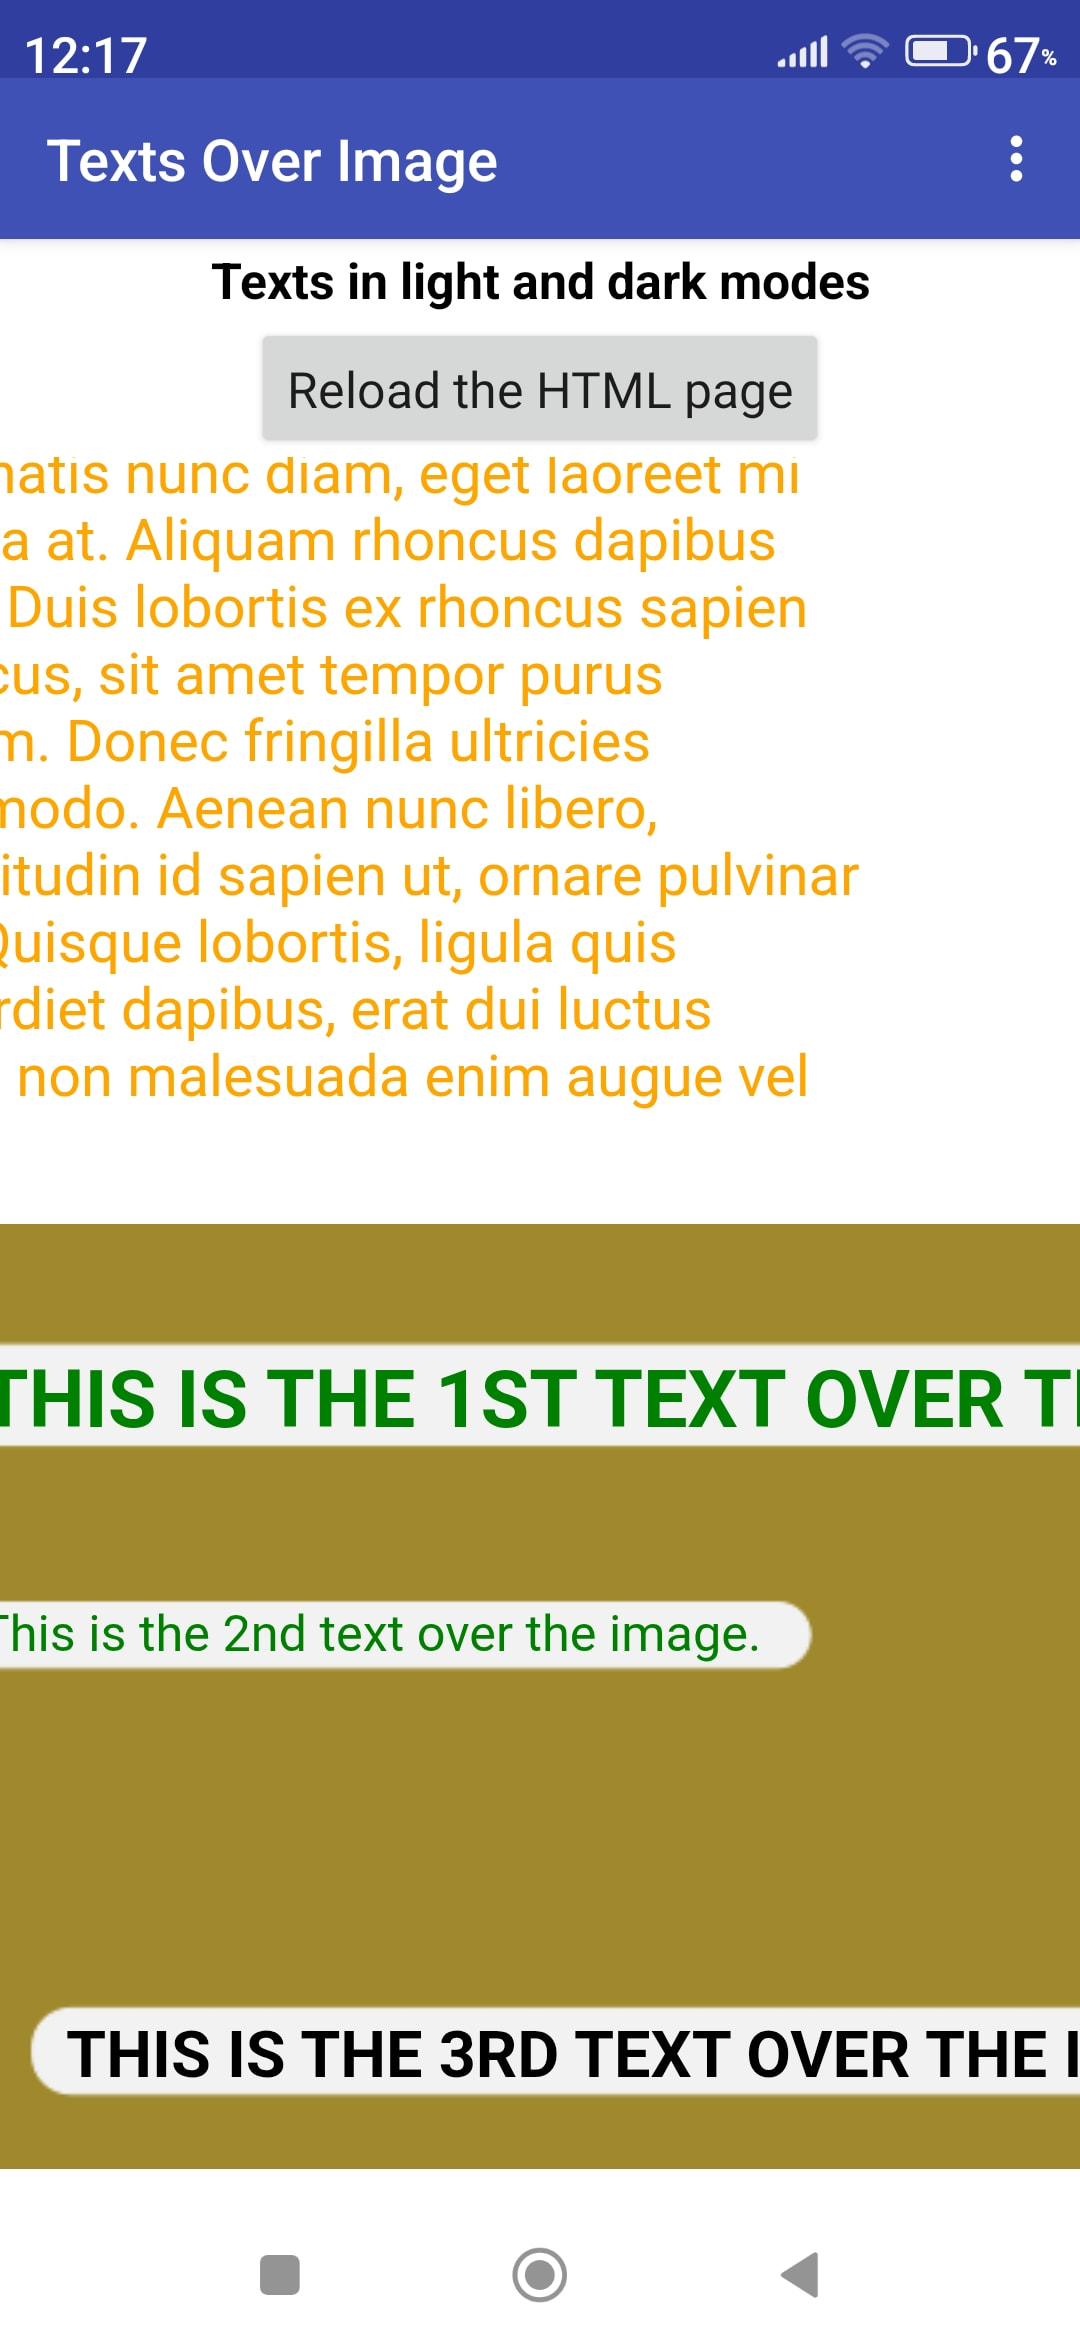
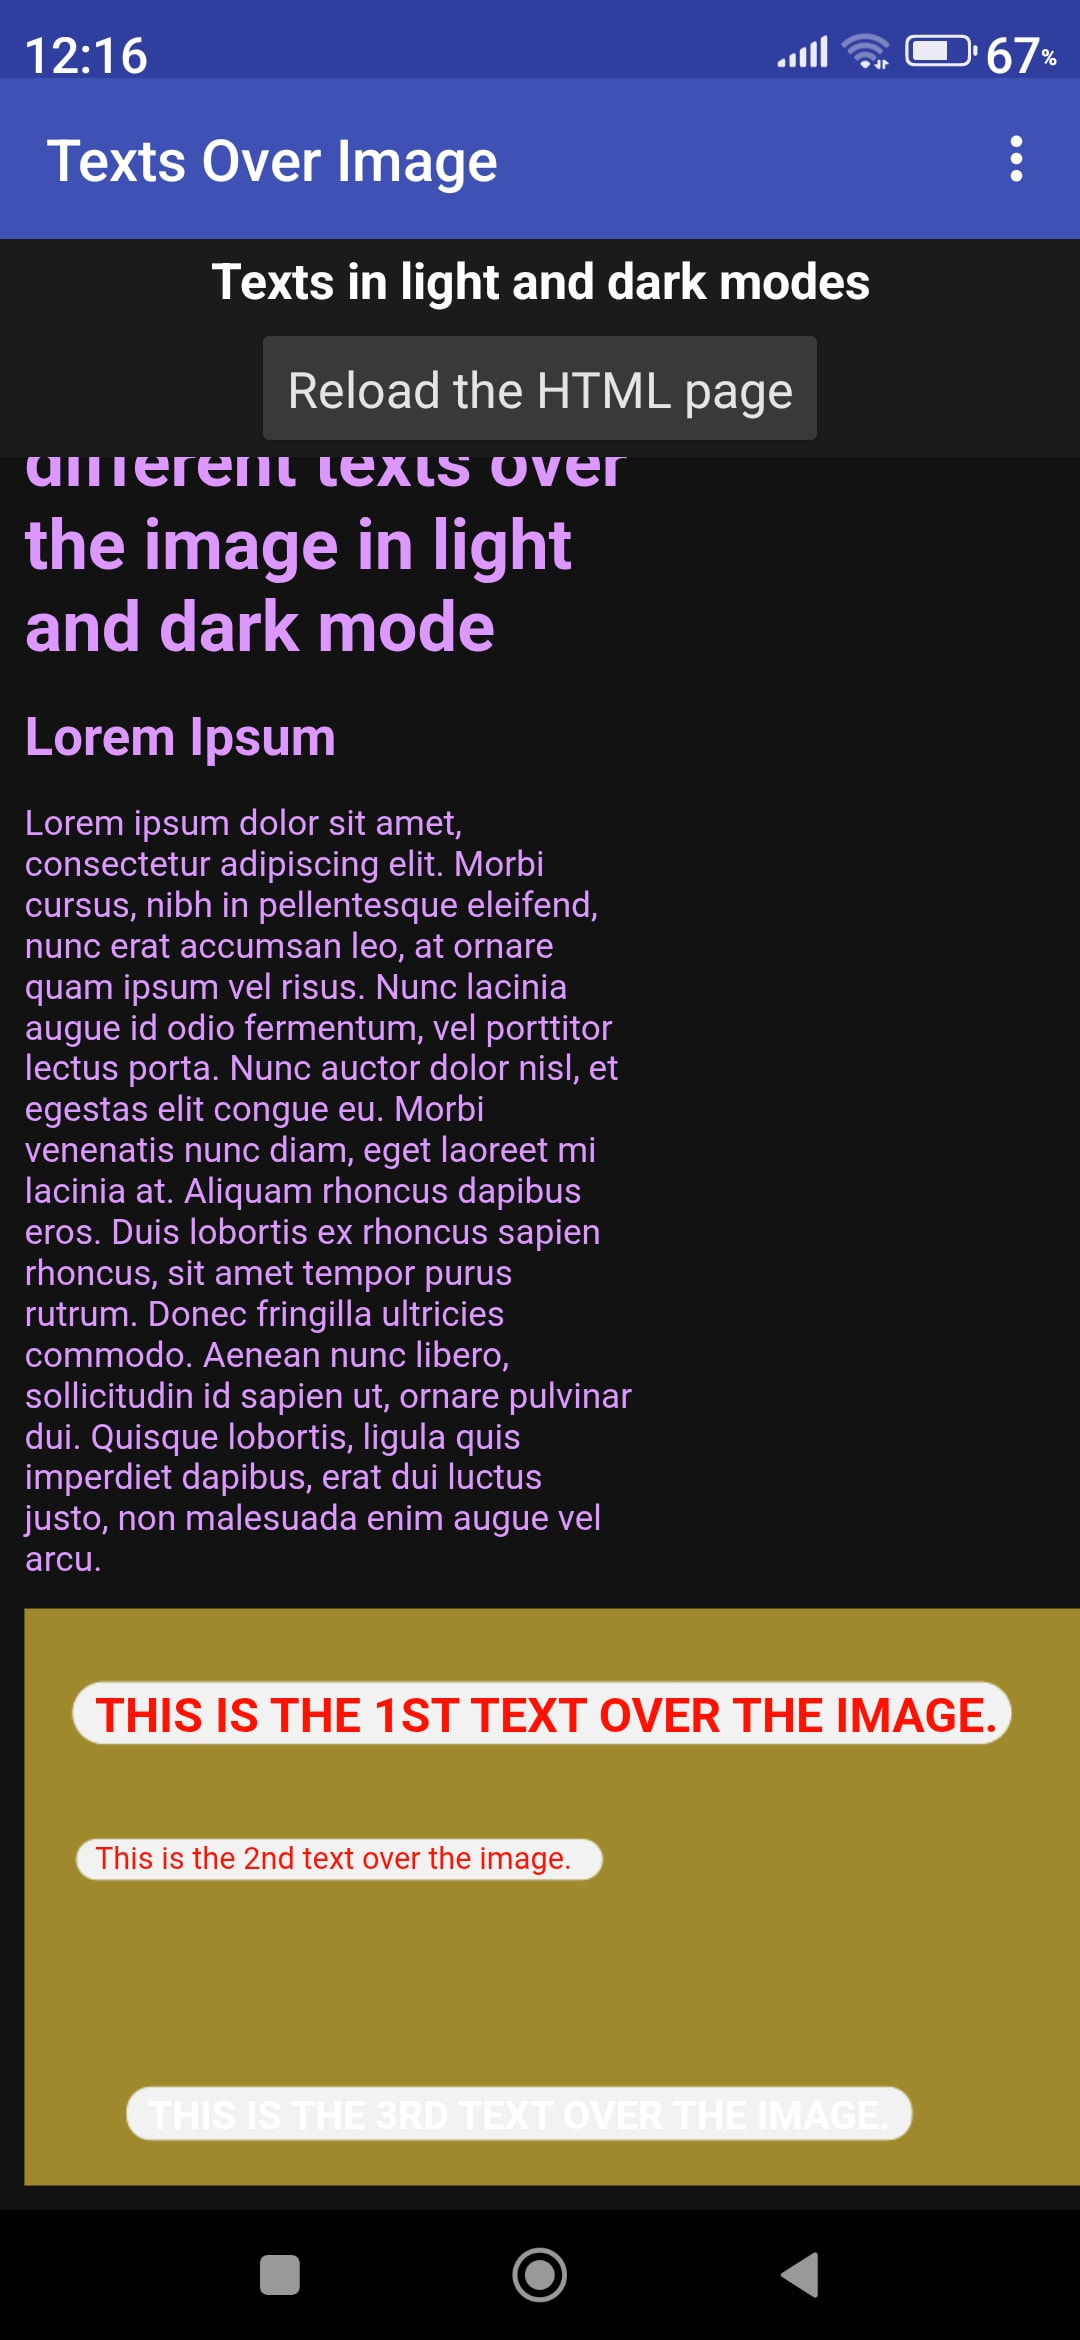
What I haven't been able to do so far is this. I want the text that I display in the image to be black in both light and dark mode. Instead, the text turns white in dark mode, so the white text on the light background of the image is not readable.
	 /* For dark mode */
	 @media (prefers-color-scheme: dark) {
	     .text01-over-image,
	     .text02-over-image,
	     .text03-over-image,
	     {
		 color: black; /* Change text color to black. */
	     }
	 }
You will need to be more explicit in your media query:
I understand, but the image, on which I would place text, would explain something, would depict something that can only be best depicted in the form of an image. Of course, some well-placed text on the image is also needed for a complete explanation. I will try the code you sent later.
This picture here is just an empty illustration that doesn't depict anything, it just shows the essence of my problem.
<!DOCTYPE html>
<html lang="en">
    <head>
	<meta charset="UTF-8">
	<meta name="viewport" content="width=device-width, initial-scale=1.0, maximum-scale=1.0, user-scalable=no">

	<style>

	 /* Style of the whole page */
	 body, html {
	     margin: 5px;
	     padding: 2px;
	     justify-content: center;
	     align-items: center;
	     min-height: 100vh;
	     background-color: #f0f0f0;
	     color: black;
	 }


	 /* Image container - FIXED SIZE */
         .image-container {
	     position: relative;
	     width: 600px; /* This is the actual width of the image. */
	     height: 328px; /* This is the actual height of the image. */
	     overflow: hidden; /* If anything sticks out, don't let it be visible. */
	 }

	 /* The picture itself */
	 .image-container img {
	     display: block;
	     width: 600px;
	     height: 328px;
	     object-fit: contain;
	 }


	 /* For dark mode */
	 @media (prefers-color-scheme: dark) {
	     .text01-over-image { /* THIS IS THE 1ST TEXT IN THE IMAGE. */
		 position: absolute;
		 top: 45px;
		 left: 40px;
		 font-size: 22px;
		 font-weight: bold;
		 color: black;
	     }
	     .text02-over-image { /* This is the 2nd text in the image. */
		 position: absolute;
		 top: 132px;
		 left: 40px;
		 font-size: 14px;
		 font-weight: normal;
		 color: black;
	     }
	     .text03-over-image { /* THIS IS THE 3RD TEXT IN THE IMAGE. */
		 position: absolute;
		 top: 275px;
		 left: 70px;
		 font-size: 18px;
	         font-weight: bold;
		 color: black;
	     }
	 }

	 /* For light mode */
	 @media (prefers-color-scheme: light) {
	     .text01-over-image { /* THIS IS THE 1ST TEXT IN THE IMAGE. */
		 position: absolute;
		 top: 45px;
		 left: 40px;
		 font-size: 22px;
		 font-weight: bold;
		 color: black;
	     }
	     .text02-over-image { /* This is the 2nd text in the image. */
		 position: absolute;
		 top: 132px;
		 left: 40px;
		 font-size: 14px;
		 font-weight: normal;
		 color: black;
	     }
	     .text03-over-image { /* THIS IS THE 3RD TEXT IN THE IMAGE. */
		 position: absolute;
		 top: 275px;
		 left: 70px;
		 font-size: 18px;
	         font-weight: bold;
		 color: black;
	     }
	 }

	</style>
    </head>
    <body>
	<h1>Regular text and different texts over the image in light and dark mode </h1>
	<h2>Lorem Ipsum</h2>
	<p>Lorem ipsum dolor sit amet, consectetur adipiscing elit. Morbi cursus, nibh in pellentesque
	    eleifend, nunc erat accumsan leo, at ornare quam ipsum vel risus. Nunc
	    lacinia augue id odio fermentum, vel porttitor lectus porta. Nunc auctor
	    dolor nisl, et egestas elit congue eu. Morbi venenatis nunc diam, eget
	    laoreet mi lacinia at. Aliquam rhoncus dapibus eros. Duis lobortis ex
	    rhoncus sapien rhoncus, sit amet tempor purus rutrum. Donec fringilla
	    ultricies commodo. Aenean nunc libero, sollicitudin id sapien ut, ornare
	    pulvinar dui. Quisque lobortis, ligula quis imperdiet dapibus, erat dui
	    luctus justo, non malesuada enim augue vel arcu. </p>
	<div
	    class="image-container"> <img src="DifferentTextsOverImage.png" alt="The image.">
	    <div class="text01-over-image">THIS IS THE 1ST TEXT OVER THE IMAGE.</div>
	    <div class="text02-over-image">This is the 2nd text over the image.</div>
	    <div class="text03-over-image">THIS IS THE 3RD TEXT OVER THE IMAGE.</div>
	</div>
	<p>Mauris non mi orci. Nullam id suscipit lectus. Ut ultricies dignissim placerat. Suspendisse scelerisque mi risus. Vestibulum
	    nec ante quis enim convallis ornare ac a est. Suspendisse posuere augue dui,
	    nec condimentum quam ultrices a. Morbi imperdiet sem vitae magna
	    sollicitudin bibendum. Donec vel varius enim, eu efficitur arcu. Fusce eget
	    nibh nibh. Mauris quis dui eget leo dictum ullamcorper. Nunc ipsum justo,
	    tincidunt vel dui ultricies, rhoncus tincidunt urna. Mauris sit amet euismod
	    nunc. Suspendisse ullamcorper quis neque aliquet interdum. Cras vestibulum
	    lacus eu bibendum elementum. Aliquam ac mattis nunc, in rhoncus tellus. </p>
    </body>
</html>
Unfortunately, this did not work and did not solve my problem.
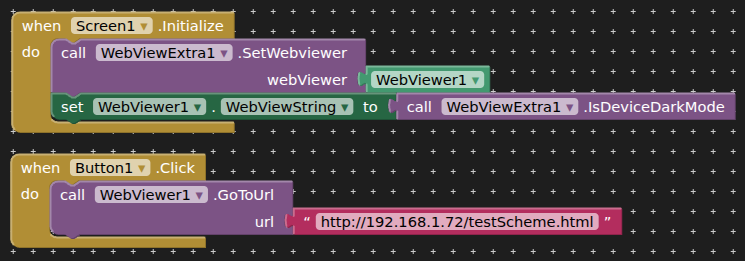
I have found that if you set the app theme to Dark, then the webview picks up the dark theme and sets the html accordingly.
Unfortunately, setting the Dark theme can only be done at developer level.
Also:
and
CSS Dark Mode

To implement dark mode in CSS, you primarily use **CSS custom properties** (variables) combined with the **`prefers-color-scheme` media query** to detect the user's system preference.

Here is the standard approach:

1.  **Define default (light mode) variables** in the `:root` selector.
2.  **Override variables** inside a `@media (prefers-color-scheme: dark)` block.
3.  **Apply variables** to your elements using the `var()` function.

```css
/* 1. Define default light mode colors */
:root {
  --bg-color: #ffffff;
  --text-color: #000000;
}

/* 2. Override for dark mode preference */
@media (prefers-color-scheme: dark) {
  :root {
    --bg-color: #121212;
    --text-color: #ffffff;
  }
}

/* 3. Apply to elements */
body {
  background-color: var(--bg-color);
  color: var(--text-color);
}
For manual toggling without JavaScript, you can use hidden checkboxes and sibling selectors to change the variable values based on the checked state. Alternatively, newer browsers support the light-dark() CSS function, which allows you to specify different values for light and dark themes directly within a single property declaration:
I tried, but unfortunately it doesn't work on my phone.
In my phone's settings, if I change the light mode to dark, or vice versa, my app doesn't respond, and the text on the image remains black in light mode, and white in dark mode (which is unreadable on the light surface of the image).
<!DOCTYPE html>
<html lang="en">
    <head>
	<meta charset="UTF-8">
	<meta name="viewport" content="width=device-width, initial-scale=1.0, maximum-scale=1.0"><!-- , user-scalable=no"> -->

	<style>

	 /* Style of the whole page */
	 body, html {
	     margin: 5px;
	     padding: 2px;
	     justify-content: center;
	     align-items: center;
	     min-height: 100vh;
	     /*background-color: #f0f0f0;*/
	     /*color: black;*/
	 }

	 /* Image container - FIXED SIZE */
         .image-container {
	     position: relative;
	     width: 600px; /* This is the actual width of the image. */
	     height: 328px; /* This is the actual height of the image. */
	     overflow: hidden; /* If anything sticks out, don't let it be visible. */
	 }

	 /* The picture itself */
	 .image-container img {
	     display: block;
	     width: 600px;
	     height: 328px;
	     object-fit: contain;
	 }

	 .text01-over-image { /* THIS IS THE 1ST TEXT IN THE IMAGE. */
	     position: absolute;
	     top: 45px;
	     left: 40px;
	     font-size: 22px;
	     font-weight: bold;
	 }
	 .text02-over-image { /* This is the 2nd text in the image. */
	     position: absolute;
	     top: 132px;
	     left: 40px;
	     font-size: 14px;
	     font-weight: normal;
	 }
	 .text03-over-image { /* THIS IS THE 3RD TEXT IN THE IMAGE. */
	     position: absolute;
	     top: 275px;
	     left: 70px;
	     font-size: 18px;
	     font-weight: bold;
	 }

	</style>
    </head>
    <body>
	<script>
	 if (AppInventor){
	     if (window.AppInventor.getWebViewString() == "true") {
		 document.querySelectorAll('.text01-over-image, .text02-over-image, .text03-over-image')
			 .forEach(e => e.style.color = 'orange');
	     }
	     else {
		 document.querySelectorAll('.text01-over-image, .text02-over-image, .text03-over-image')
			 .forEach(e => e.style.color = 'green');
	     }
	 }
	</script>
	<h1>Regular text and different texts over the image in light and dark mode </h1>
	<h2>Lorem Ipsum</h2>
	<p>Lorem ipsum dolor sit amet, consectetur adipiscing elit. Morbi cursus, nibh in pellentesque
	    eleifend, nunc erat accumsan leo, at ornare quam ipsum vel risus. Nunc
	    lacinia augue id odio fermentum, vel porttitor lectus porta. Nunc auctor
	    dolor nisl, et egestas elit congue eu. Morbi venenatis nunc diam, eget
	    laoreet mi lacinia at. Aliquam rhoncus dapibus eros. Duis lobortis ex
	    rhoncus sapien rhoncus, sit amet tempor purus rutrum. Donec fringilla
	    ultricies commodo. Aenean nunc libero, sollicitudin id sapien ut, ornare
	    pulvinar dui. Quisque lobortis, ligula quis imperdiet dapibus, erat dui
	    luctus justo, non malesuada enim augue vel arcu. </p>
	<div
	    class="image-container"> <img src="DifferentTextsOverImage.png" alt="The image.">
	    <div class="text01-over-image">THIS IS THE 1ST TEXT OVER THE IMAGE.</div>
	    <div class="text02-over-image">This is the 2nd text over the image.</div>
	    <div class="text03-over-image">THIS IS THE 3RD TEXT OVER THE IMAGE.</div>
	</div>
	<p>Mauris non mi orci. Nullam id suscipit lectus. Ut ultricies dignissim placerat. Suspendisse scelerisque mi risus. Vestibulum
	    nec ante quis enim convallis ornare ac a est. Suspendisse posuere augue dui,
	    nec condimentum quam ultrices a. Morbi imperdiet sem vitae magna
	    sollicitudin bibendum. Donec vel varius enim, eu efficitur arcu. Fusce eget
	    nibh nibh. Mauris quis dui eget leo dictum ullamcorper. Nunc ipsum justo,
	    tincidunt vel dui ultricies, rhoncus tincidunt urna. Mauris sit amet euismod
	    nunc. Suspendisse ullamcorper quis neque aliquet interdum. Cras vestibulum
	    lacus eu bibendum elementum. Aliquam ac mattis nunc, in rhoncus tellus. </p>
    </body>
</html>
I tried your html file only as an html file on my phone, i.e. I opened it in both light and dark mode, and of course the text is black in light mode and white in dark mode. However, I haven't integrated your html file into the Appinventor project yet. I will do that tomorrow.
I have included your html file in this project, installed it on my phone, and tested how the text appears when I switch between light and dark modes on my phone.
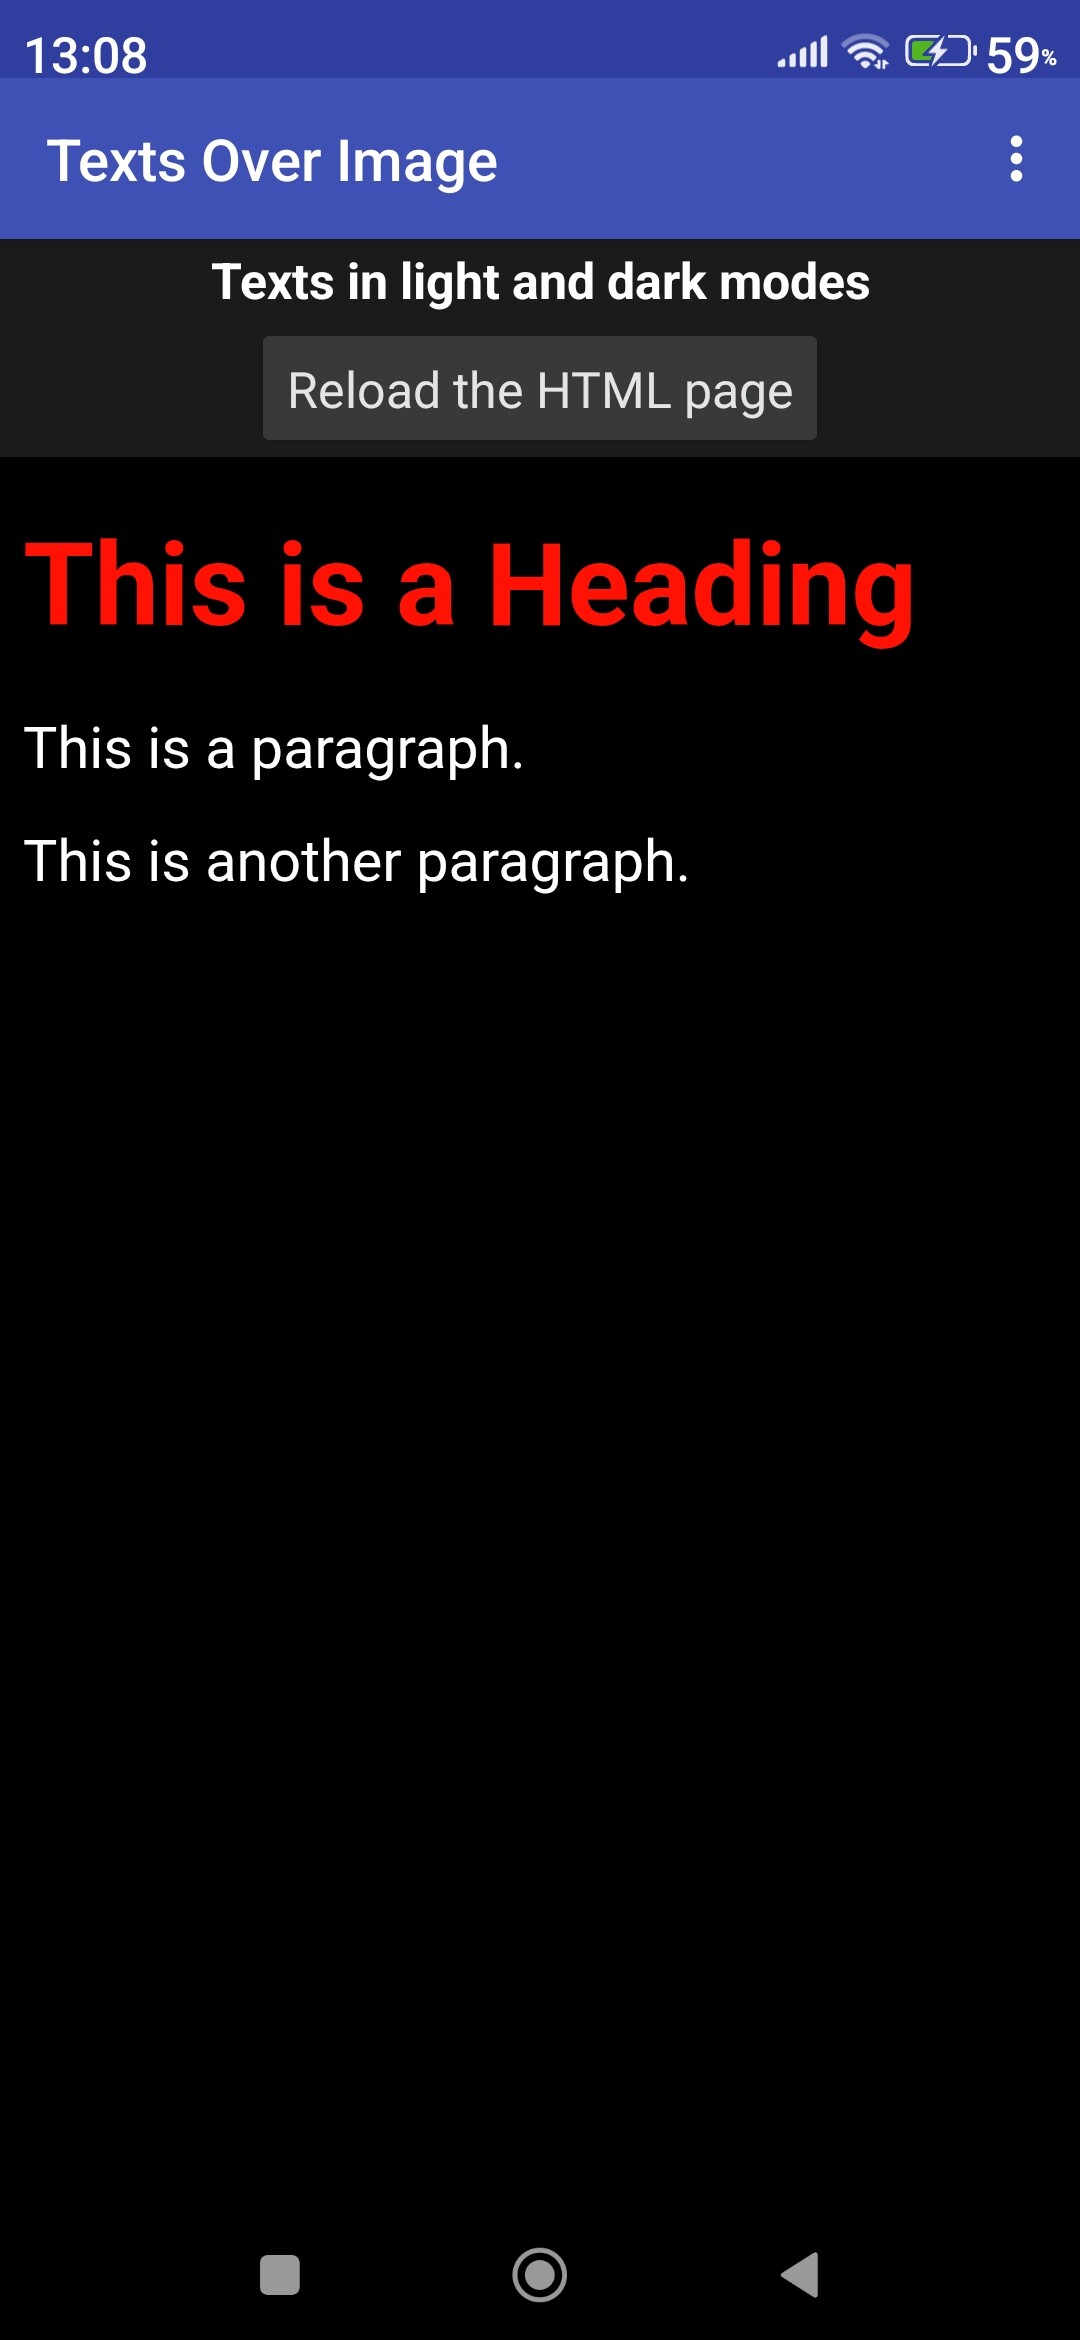
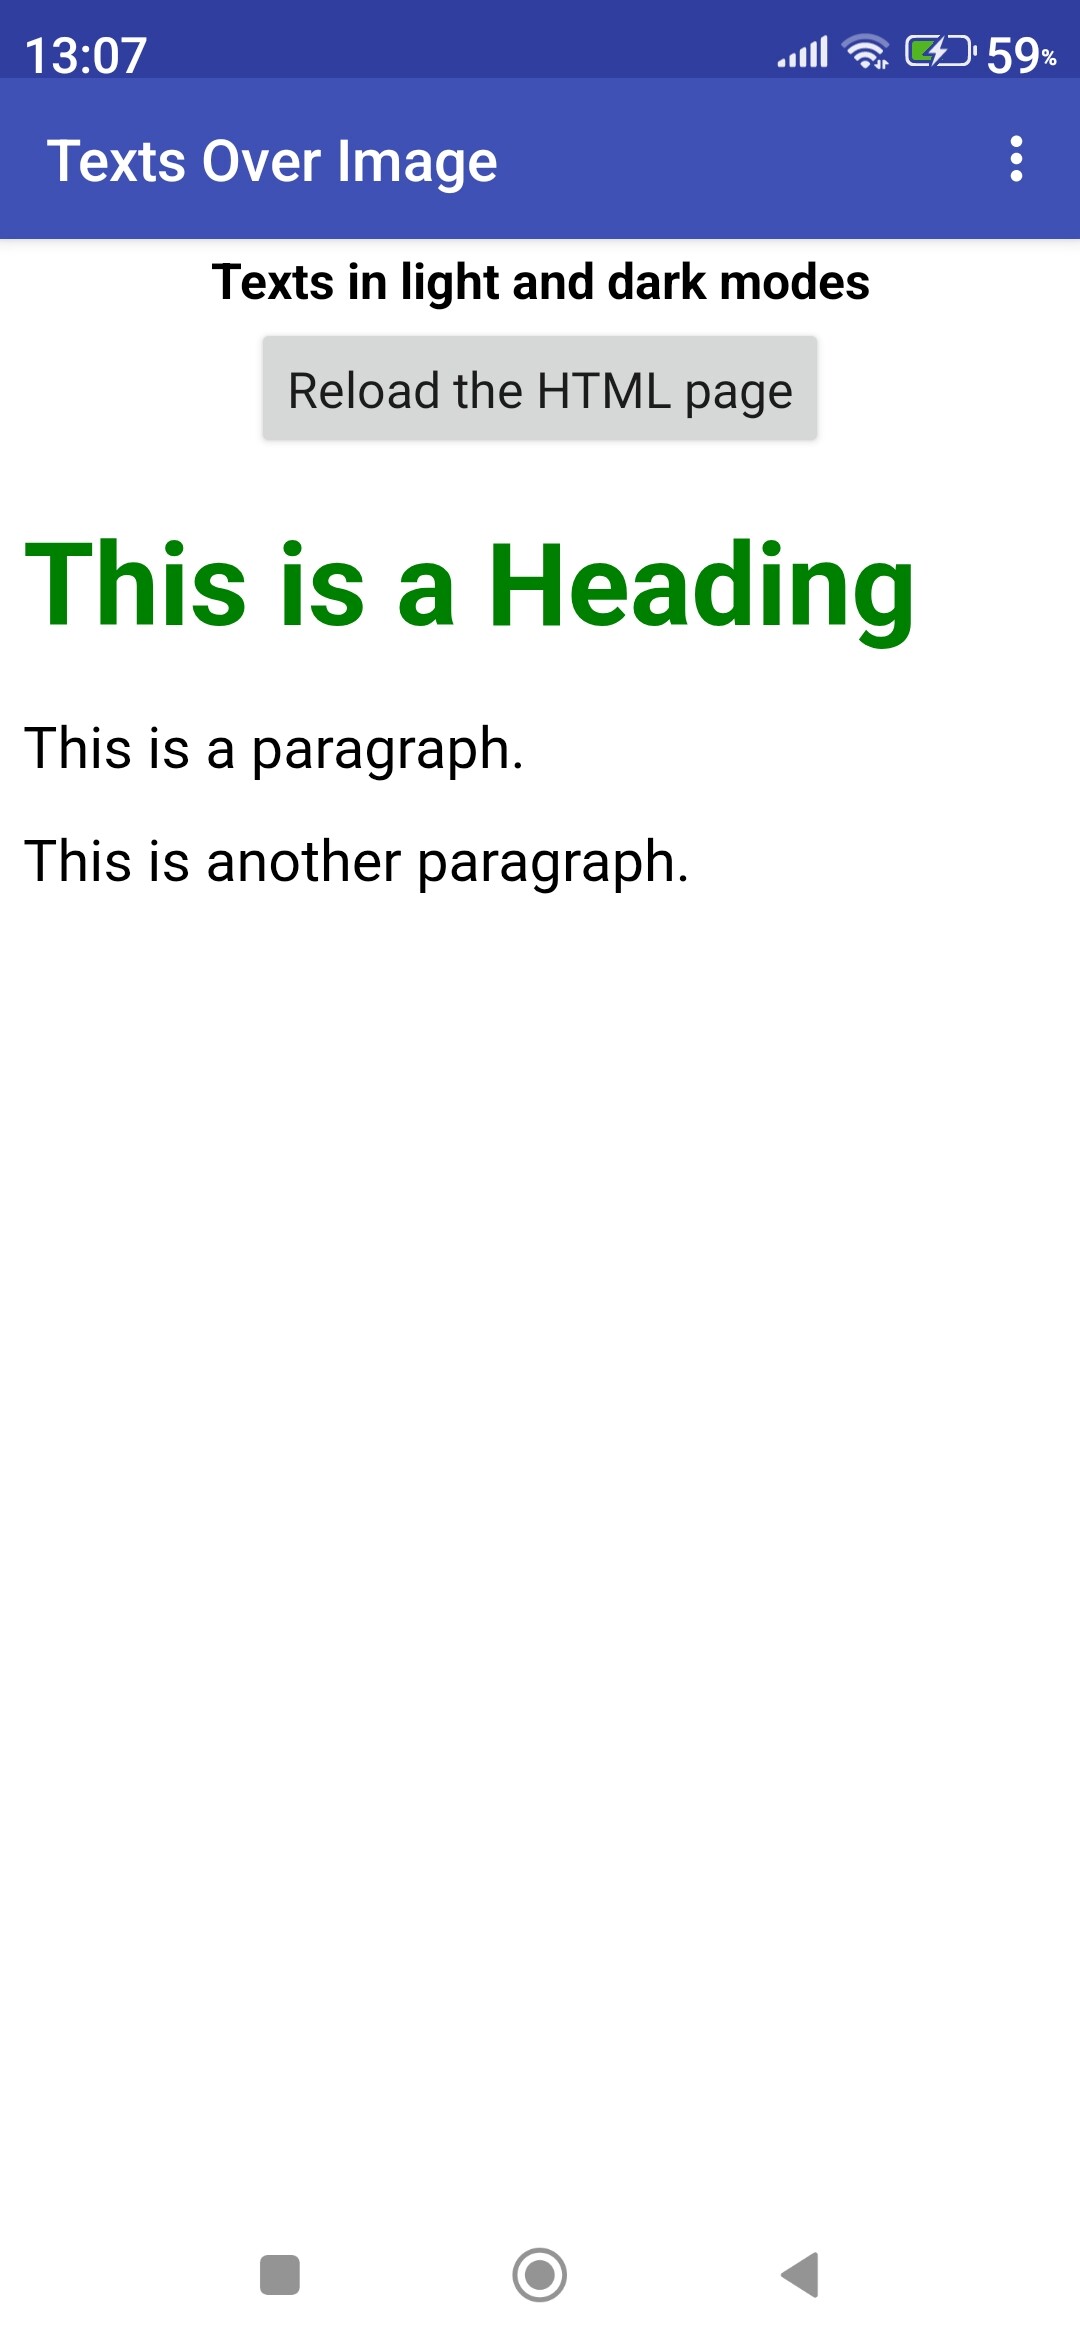
Yes, your html file works fine (see the two screenshots attached).
So, my html file should work too, but there might be something wrong with it, as I haven't been able to color the text to be placed on the image according to the light and dark modes yet.
Do you have any advice regarding my html file? What could be wrong with it that it doesn't change the color of the text placed on the image according to the light and dark modes?
Your script needs to be at the end of the (but still inside the) tag after all the text, otherwise your texts and their classes have not been initialised.
This does not work with black. The black color does not remain black, but turns white (over the white surface of the background image), even though I set it in the html file using css and javascript so that the text remains black even in dark mode (because this is how the text becomes visible over a white or light-colored background. As the two screenshots attached show, it works with red and green colors, but not with black. I also tried other dark colors, such as the color 'navy', which did not show navy in dark mode, but a very pale pink.
Why doesn't this method work with black, navy, or maybe other dark colors?
<!DOCTYPE html>
<html lang="en">
    <head>
	<meta charset="UTF-8">
	<meta name="viewport" content="width=device-width, initial-scale=1.0, maximum-scale=1.0"><!-- , user-scalable=no"> -->

	<style>

	 /* Style of the whole page */
	 body, html {
	     margin: 5px;
	     padding: 2px;
	     justify-content: center;
	     align-items: center;
	     min-height: 100vh;
	     /*background-color: #f0f0f0;*/
	     /*color: black;*/
	 }

	 /* Image container - FIXED SIZE */
         .image-container {
	     position: relative;
	     width: 600px; /* This is the actual width of the image. */
	     height: 328px; /* This is the actual height of the image. */
	     overflow: hidden; /* If anything sticks out, don't let it be visible. */
	 }

	 /* The picture itself */
	 .image-container img {
	     display: block;
	     width: 600px;
	     height: 328px;
	     object-fit: contain;
	 }

	 .text01-over-image { /* THIS IS THE 1ST TEXT OVER THE IMAGE. */
	     position: absolute;
	     top: 45px;
	     left: 40px;
	     font-size: 22px;
	     font-weight: bold;
	 }
	 .text02-over-image { /* This is the 2nd text over the image. */
	     position: absolute;
	     top: 132px;
	     left: 40px;
	     font-size: 14px;
	     font-weight: normal;
	 }
	 .text03-over-image { /* THIS IS THE 3RD TEXT OVER THE IMAGE. */
	     position: absolute;
	     top: 275px;
	     left: 70px;
	     font-size: 18px;
	     font-weight: bold;
	 }

	</style>
    </head>
    <body>
	<h1>Regular text and different texts over the image in light and dark mode </h1>
	<h2>Lorem Ipsum</h2>
	<p>Lorem ipsum dolor sit amet, consectetur adipiscing elit. Morbi cursus, nibh in pellentesque
	    eleifend, nunc erat accumsan leo, at ornare quam ipsum vel risus. Nunc
	    lacinia augue id odio fermentum, vel porttitor lectus porta. Nunc auctor
	    dolor nisl, et egestas elit congue eu. Morbi venenatis nunc diam, eget
	    laoreet mi lacinia at. Aliquam rhoncus dapibus eros. Duis lobortis ex
	    rhoncus sapien rhoncus, sit amet tempor purus rutrum. Donec fringilla
	    ultricies commodo. Aenean nunc libero, sollicitudin id sapien ut, ornare
	    pulvinar dui. Quisque lobortis, ligula quis imperdiet dapibus, erat dui
	    luctus justo, non malesuada enim augue vel arcu. </p>
	<div
	    class="image-container"> <img src="DifferentTextsOverImage.png" alt="The image.">
	    <div class="text01-over-image">THIS IS THE 1ST TEXT OVER THE IMAGE.</div>
	    <div class="text02-over-image">This is the 2nd text over the image.</div>
	    <div class="text03-over-image">THIS IS THE 3RD TEXT OVER THE IMAGE.</div>
	</div>

	<script>
	 if (AppInventor){
	     if (window.AppInventor.getWebViewString() == "true") {
		 document.querySelectorAll('.text01-over-image, .text02-over-image')
			 .forEach(e => e.style.color = 'red');
		 document.querySelectorAll('.text03-over-image')
			 .forEach(e => e.style.color = 'black');
		 document.body.style.color='blue';
	     }
	     else {
		 document.querySelectorAll('.text01-over-image, .text02-over-image')
			 .forEach(e => e.style.color = 'green');
		 document.querySelectorAll('.text03-over-image')
			 .forEach(e => e.style.color = 'black');
		 document.body.style.color='orange';
	     }
	 }
	</script>
    </body>
</html>