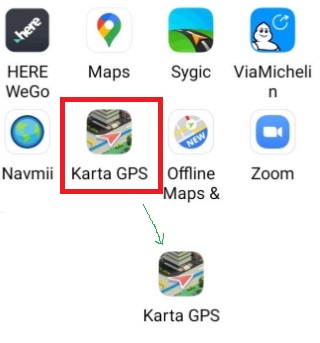
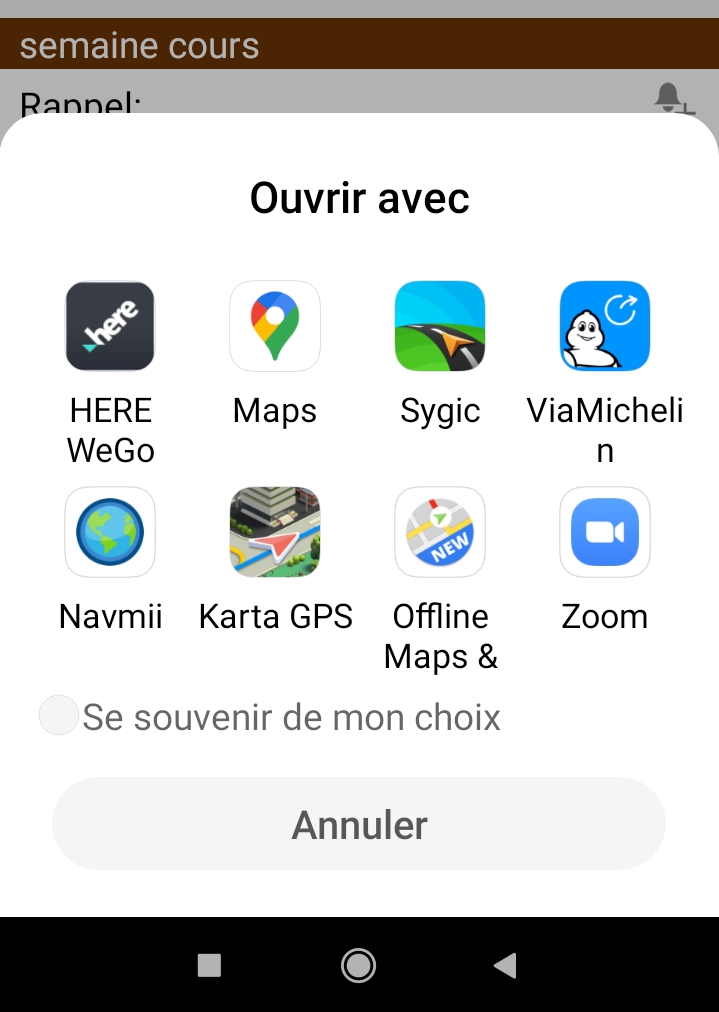
The only way a developer can create a link to an installed app on your device using App Inventor Block is to use an intent or having access to the linked app api (for some apps). With App Inventor, this means use the Activity Starter. ActivityStarter might be used to open each of the apps you show as icons in your image, or, if you have the api, link to a Web version of the 'mapping' app. If you can write the required scripts to create the intents, your next step is to make a Screen like you posted using a Table layout filled with eight images (or buttons that load the image you want to associate with the app).
On a Windows PC, you can use Snip and Sketch to capture each image for the Buttons.
 .
.
Capture the images, place a Table (2 rows, 4 columns) and an Image or Button to hold the image using the set Button.Image to Blocks.
Use the click event of the Image control or Button to link your ActivityStarter code and load the app.
Your problem is to discover the ActivityStarter script need to instantiate each of these apps using your App Inventor 2 app. Use the advice in Using the Activity Starter and the documentation ActivityStarter .
Starting a Built-in Android Application from your App Inventor App
Apps that come built in with the Android device can be invoked “explicitly” by using package names and class names, as above. They can also be started “implicitly” by specifying an Action, in which case the Android operating system can figure out which actual application to start. The information used to start an app is called an intent, and the process for determining which application to start is called intent resolution. You can find information about intents in the Android system documentation on intents and intent filters.
Some apps are designed to accept extra information when they are launched. For example, the Android Map activity can accept geographic information that specifies a location to display. You must consult the documentation for the particular app to learn what this extra information is and how to specify it. You can also find information on Android Common Intents for Google Android applications available on most devices.
Generally, you specify the information by setting the ActivityStarter's properties just before the you launch the other app with StartActivity. You can set these in App Inventor using the ActivityStarter properties DataType and DataURI. There is also an Extras property that takes a list of keys and values and specifies the property values for the corresponding keys. The particular values you have to set depend on the activity you want to launch.
Activities that can be launched for Apps you created with App Inventor include:
- Starting another App Inventor for Android app. To do so, first find out the class of the other application by downloading the source code and using a file explorer or unzip utility to find a file named “youngandroidproject/project.properties”. The first line of the file will start with “main=” and be followed by the class name; for example,
main=com.gmail.Bitdiddle.Ben.HelloPurr.Screen1 . (The first components indicate that it was created by Ben.Bitdiddle@gmail.com.) To make your ActivityStarter launch this application, set the following properties:
-
ActivityPackage to the class name, dropping the last component (for example, com.gmail.Bitdiddle.Ben.HelloPurr )
-
ActivityClass to the entire class name (for example, com.gmail.Bitdiddle.Ben.HelloPurr.Screen1 )
Be aware, it may not be possible to establish a link to each and every one of these 'mapping' apps using an ActivityStarter.
Congratulations, you already know how to link to one of the GPS apps using App Inventor code.
Good luck.

 .
. ). Or, you could just include coordinates in Europe.


