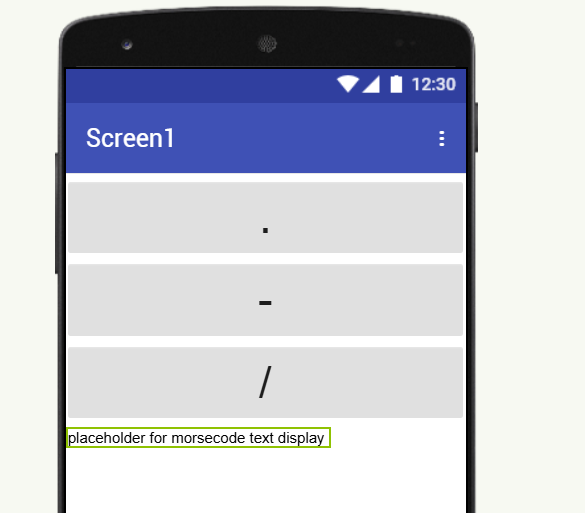
something like this?
use python to encode / decode more code and display ton app inventor
While a Python script cannot run directly in MIT App Inventor, you can use Python to build the core Morse code logic and then call that Python code from your App Inventor app
. The easiest way to do this is by using a web server to host your Python script and having App Inventor communicate with it.
Here is a step-by-step guide and the code you will need.
Step 1: Write the Python Morse code script
This Python script will use a dictionary to map letters to Morse code and will contain two functions: one for encoding and one for decoding. To make it a web service, you will wrap it in a lightweight web framework like Flask.
Python script (app.py)
python
from flask import Flask, request, jsonify

app = Flask(__name__)

# Dictionary for encoding
MORSE_CODE_DICT = { 'A':'.-', 'B':'-...',
                    'C':'-.-.', 'D':'-..', 'E':'.',
                    'F':'..-.', 'G':'--.', 'H':'....',
                    'I':'..', 'J':'.---', 'K':'-.-',
                    'L':'.-..', 'M':'--', 'N':'-.',
                    'O':'---', 'P':'.--.', 'Q':'--.-',
                    'R':'.-.', 'S':'...', 'T':'-',
                    'U':'..-', 'V':'...-', 'W':'.--',
                    'X':'-..-', 'Y':'-.--', 'Z':'--..',
                    '1':'.----', '2':'..---', '3':'...--',
                    '4':'....-', '5':'.....', '6':'-....',
                    '7':'--...', '8':'---..', '9':'----.',
                    '0':'-----', ', ':'--.--', '.':'.-.-.-',
                    '?':'..--..', '/':'-..-.', '-':'-....-',
                    '(':'-.--.', ')':'-.--.-'}

# A reversed dictionary for decoding
REVERSE_MORSE_DICT = {v: k for k, v in MORSE_CODE_DICT.items()}

@app.route('/encode', methods=['POST'])
def encode():
    text = request.json.get('text', '').upper()
    morse_code = []
    for char in text:
        if char != ' ':
            morse_code.append(MORSE_CODE_DICT.get(char, ''))
        else:
            morse_code.append('/')
    return jsonify({'morse_code': ' '.join(morse_code)})

@app.route('/decode', methods=['POST'])
def decode():
    morse_text = request.json.get('morse_code', '')
    morse_words = morse_text.split(' / ')
    decoded_message = []
    for word in morse_words:
        morse_chars = word.split(' ')
        decoded_chars = [REVERSE_MORSE_DICT.get(mc, '') for mc in morse_chars]
        decoded_message.append(''.join(decoded_chars))
    return jsonify({'text': ' '.join(decoded_message)})

if __name__ == '__main__':
    app.run(host='0.0.0.0', port=5000)
Use code with caution.
Step 2: Install Flask and run the server
- Install Flask: Open a terminal or command prompt and run:
sh
pip install flask
Use code with caution.
- Run the script: Navigate to the directory where you saved
app.py and run:
sh
python app.py
Use code with caution.
- Find your IP address: The Flask server is now running on your computer. You will need your computer's IP address to communicate with it from App Inventor. On most operating systems, you can find this by running
ipconfig (Windows) or ifconfig (macOS/Linux). The URL for your service will be http://your_ip_address:5000.
Step 3: Design the App Inventor interface
Create a new project in MIT App Inventor and lay out the components on the Designer tab.
- User Interface:
TextBox_Input: For the user to enter text or Morse code.Button_Encode: To convert text to Morse.Button_Decode: To convert Morse to text.Label_Output: To display the result.
- Connectivity:
Web1: The component that will make the POST requests to your Python server.
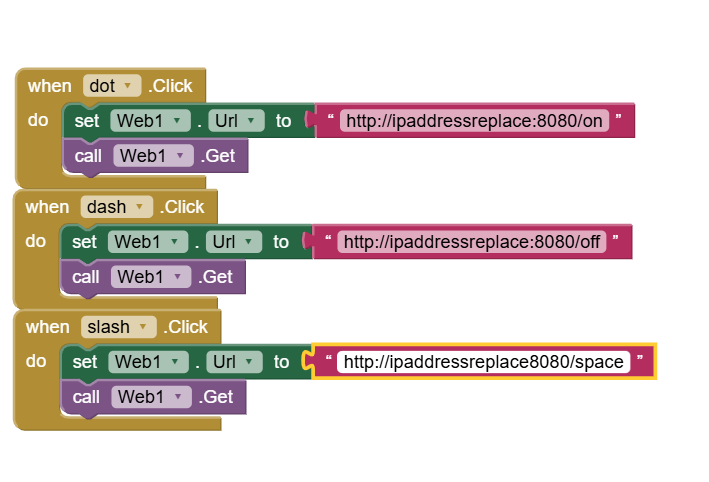
Step 4: Program the App Inventor blocks
Switch to the Blocks editor in App Inventor to program the app's logi