I can't communicate my Arduino with my app

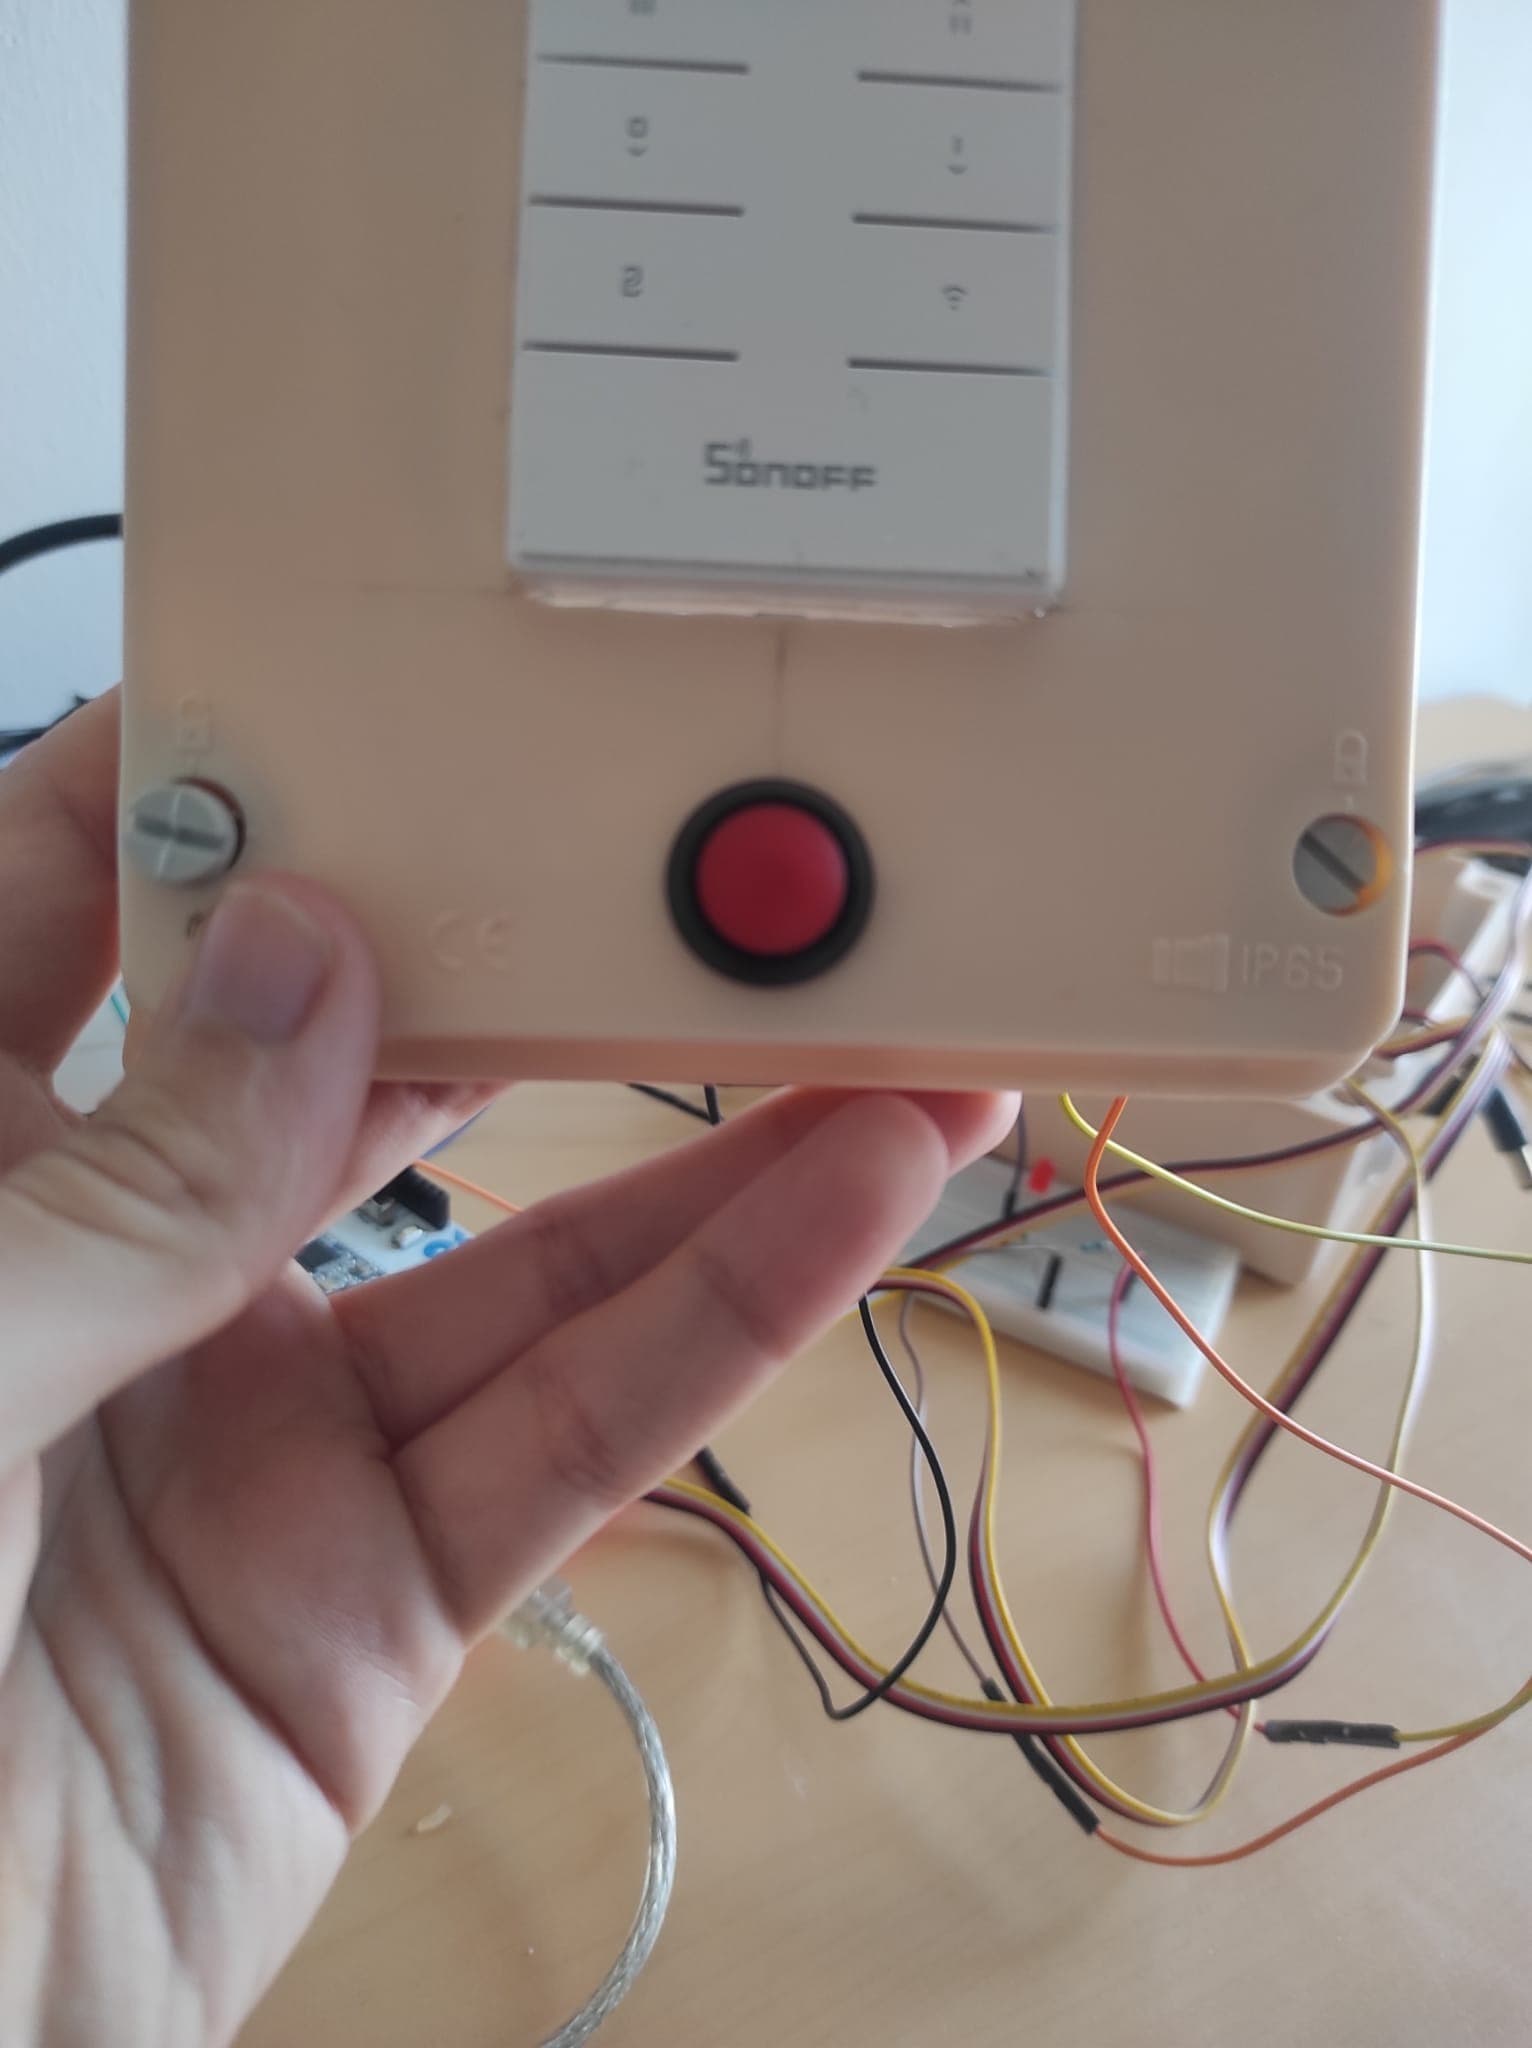
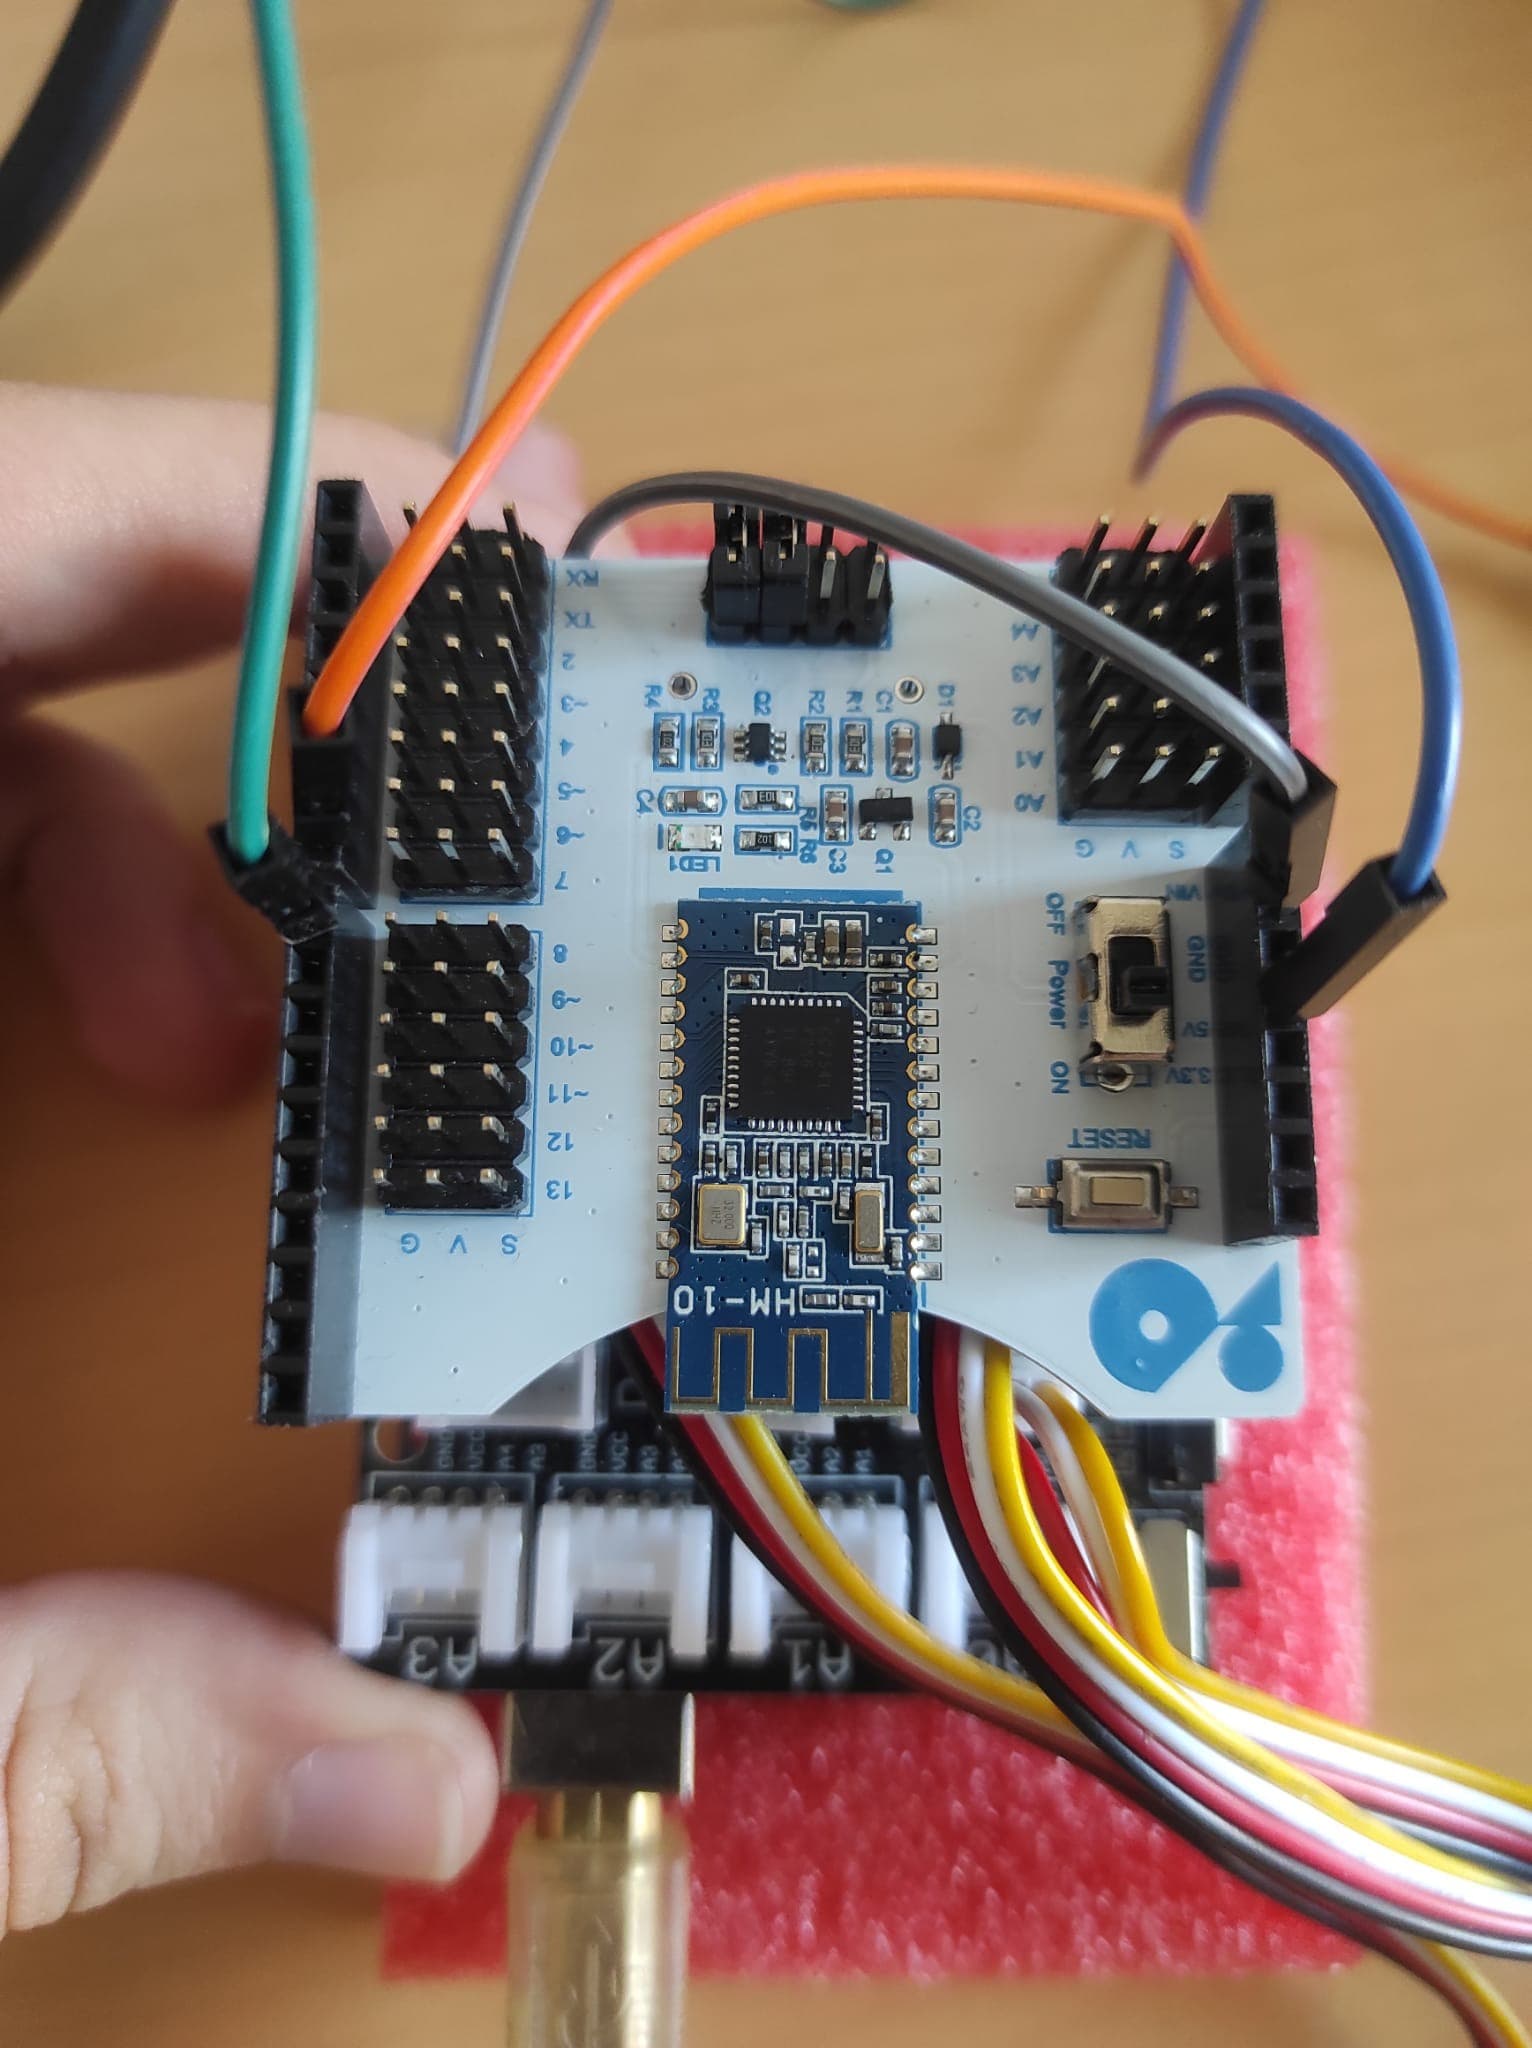
Hello again guys, I'm stuck on creating an app for my Arduino project, basically I'm creating an app in which if a person is in bed (sick) and needs help, just click on the button that is connected to the Arduino and it will call the person via bluetooth communication which will notify the app and the person. I have a problem that I can connect the hm-10 with my application, everything is ok, but when I click on the button on the arduino it does not change color and it does not even want to change its state, but in the arduino terminal it sends it to the application , but still I am not successful . And even if I click on the app button to turn on the led via the app, the led does not light up. In theory it's simple, but I'm having trouble building the app and code. I'm using a BLE HM-10 on an Arduino shield. I already asked my teacher but he doesn't know anything about bluetooth communication lol. You are my last hope for me to finish my course.

I'm using an application and code from this site here: Arduino, HM-10 e App Inventor 2 | Martyn Currey
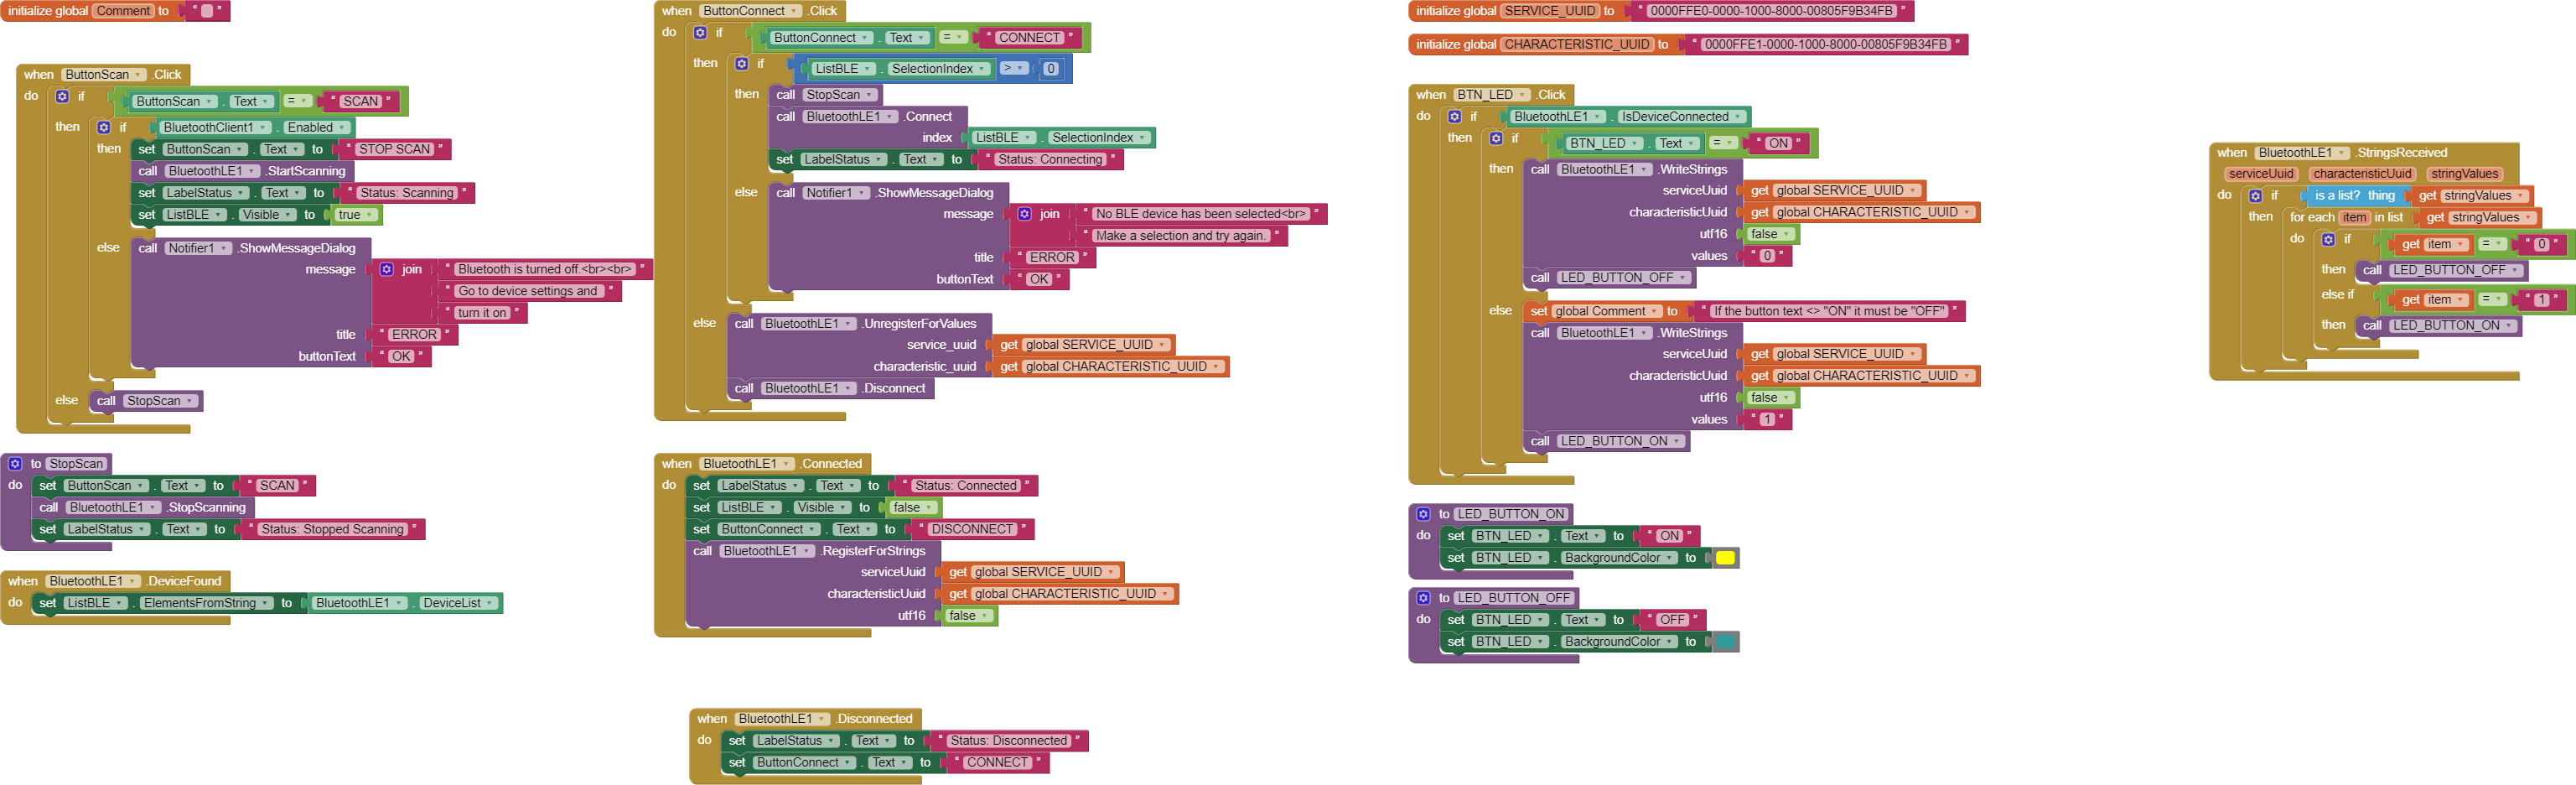
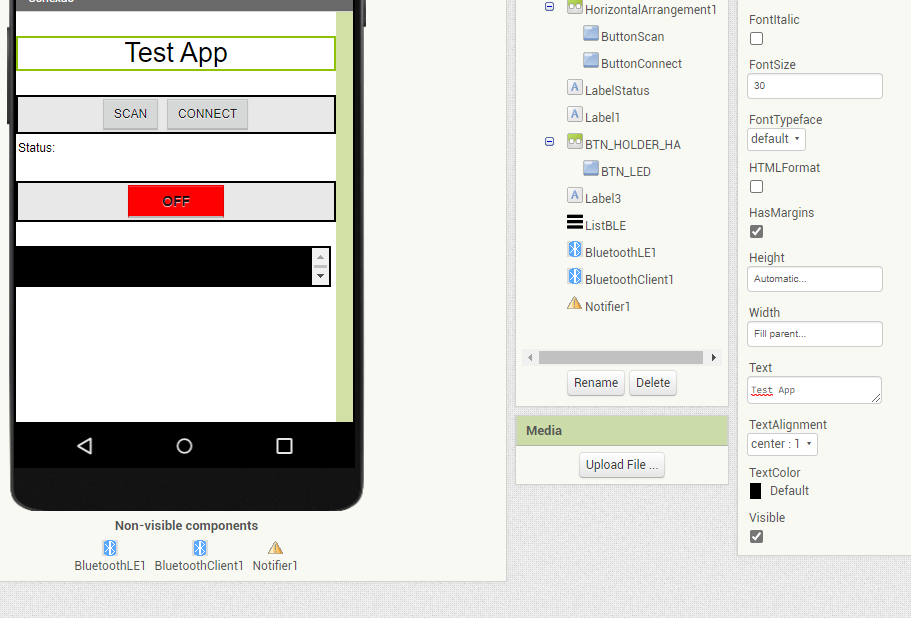
application blocks:


Arduino code:

#include <AltSoftSerial.h>
AltSoftSerial ASSserial;

// Constants for hardware
const byte LEDPin = 8;
const byte SwitchPin = 7;

// general variables
boolean LED_State = false;
boolean switch_State = false;
boolean oldswitch_State = false;

char c=' ';

void setup()
{
Serial.begin(9600);
Serial.print("Sketch: "); Serial.println(FILE);
Serial.print("Uploaded: "); Serial.println(DATE);
Serial.println(" ");

ASSserial.begin(9600); 
Serial.println("AltSoftSerial started at 9600"); 
Serial.println(" ");

pinMode(LEDPin, OUTPUT); 
digitalWrite(LEDPin,LOW);

pinMode(SwitchPin, INPUT); 

} // void setup()

void loop()
{
checkSwitch();
checkRecievedData();
}

void checkSwitch()
{
// Simple toggle switch function with even simpler debounce.
boolean state1 = digitalRead(SwitchPin); delay(1);
boolean state2 = digitalRead(SwitchPin); delay(1);
boolean state3 = digitalRead(SwitchPin);

 if ((state1 == state2) && (state1==state3))   
 { 
      switch_State = state1;  
      if ( (switch_State == HIGH) && (oldswitch_State == LOW) )
      {
           // toggle LED_State.
           LED_State = ! LED_State;  

           // If LED_State is HIGH then LED needs to be turned on.
           if ( LED_State == HIGH) 
           {  
                digitalWrite(LEDPin,HIGH);   // turn on the LED
                ASSserial.print("1" );       // tell the app the LED is now on
                Serial.println("Sent - 1");    
           }

           else                     
           {  
               digitalWrite(LEDPin,LOW);    // turn off the LED                  
               ASSserial.print("0");        // tell the app the LED is now off
               Serial.println("Sent - 0");    
           }    
      }          
      oldswitch_State = switch_State;
  }

}

void checkRecievedData()
{
// Read from the Bluetooth module and turn the LED on and off
if (ASSserial.available())
{
c = ASSserial.read();
Serial.println(c);

    // The ascii code for 0 is dec 48
    // The ascii code for 1 is dec 49
    if ( c== 48) { digitalWrite(LEDPin, LOW);     LED_State = LOW;  }
    if ( c== 49) { digitalWrite(LEDPin, HIGH);    LED_State = HIGH; }
}

}

But it's not working, I think the problem is in the arduino code and not in the App

a) Just in case - have you switched on Location? (Google security measure).
b) You are using the latest BLE Extension (not the linked one on Martyn Currey's page)?

Re the Arduino Code - please post the .ino file here (change the ext from .ino to .txt)
Also:

  1. Your App is only sending, not receiving - correct? Edit: actually it sends and receives - double check that is a requirement. A schematic drawing of what your App + Hardware does would paint a thousand words.
  2. You can select the Arduino from the Device List and successfully connect to it?
1 Like

Tell us the exact Arduino Model. Take a photograph of your board, clearly showing the HM-10 connected and post that image here.

1 Like

You have some odd things in the App. The Connect Button Block for example, isn't that supposed to toggle button text between 'connect' and 'disconnect'? Also, the scan should have been stopped before connection is attempted (so does not belong in this Block).

1 Like

*Yes, I updated to the latest version of ble, I just replaced the old extension with the latest one.

*When I click on scan it can find my hm-10 and connect it smoothly, the problem is not that.

*My arduino was supposed to only send information, in this case when I press the button on the arduino, in the application it had to change the state of the button to on/off when the red button is pressed, but that is not what is happening.

*The button I speak of is this red one, it is connected to the arduino, it is the main part of the project

Code Arduino:
Example_Project_Part_2._Turn_an_LED_on_and_off_2way_control_01.txt (3.1 KB)

My arduino model is the ARDUINO UNO R3

This is the HM-10 on a shield:

I honestly understand very little about AI2, this code I copied from the site I pictured above

Hi Sett

So you have got very far, but the final bit fails.

What we need to be 100% sure of is that you have connected the button to the Arduino correctly.

Questions:

  1. When you press the button, does Arduino send that signal to the Arduino Serial Monitor on your PC as expected?

  2. For this to work, the App will need to be on the whole time, which could challenge the battery longevity. Is that OK for the purposes of your course?

....I see the Sketch is expecting a Switch rather than a button. Can you post a link to the button's specifications please.

hi chris
Yes, the button is connected perfectly, when I click on it, it turns on the red led, but it does not change the state of the button in the app, and when I want to turn on the led through the app, it does not turn on, that is, there is something wrong in the middle of the program that is failing, and I have no idea where it is. The problem is not with the battery, but the battery lasts enough, because it is a project for school, it will not be marketed or something like that that needs a more powerful battery or with more capacity

wait, is there a difference for a switch and a push button? I didn't know that, could that be the problem?

These two statements conflict :upside_down_face:

Potentially yes - depends on how the button works, hence my request for the spec.

1 Like

So how can i solve this? i want the person to click the button and the state of the button to change in the app, but i also want to turn the led off and on by the app :confused:

it's a simple button, you press it and then it goes back to the initial state, it has a resistor connected, a 5v pin and a pin that connects the arduino port 7

Let's think out loud about the requirements:

  1. Person in distress can push a button on the Arduino, which sends a signal via Bluetooth to a paired Smartphone.

  2. This signal also changes the colour of an LED on the Arduino Box.

  3. The signal changes the colour of a button in the App (I suggest it should also play a sound).

  4. The Smartphone User can push the button in the App to switch off the Alert.

  5. When the Smartphone button is pushed, it sends a signal back to the Arduino Box and switches off the LED to indicate that someone has received the signal and will attend the person in distress.

Is that how your Project should work? If not, write a step-by-step as I have done here.

1 Like

OMGGGG THAT'S IT, you read my mind lol

This is exactly what I want, but I'm not getting it.

@ChrisWard

Create a basic application to send an app information to Arduino with HM-10.
Then another basic application to send information from the HM-10 to the app.
Here examples:

But then in the tutorial he is using the hm-10 separately, I have the hm-10 next to the shield, and in the arduino code he is declaring the RX and TX ports, in my case I don't know if I need to declare

Arduino and HM-10 must be connected.
I don't know how they are connected in your shield.
HM-10 has two data terminals TX and RX, you need to locate those terminals and check which terminals on the Arduino they are connected to.
In my examples they are connected to pins 2 and 3 of the Arduino.