Hi everyone,
In this guide, I will show you how to create a circular or rounded profile image in MIT App Inventor without using any extensions. This method is simple and does not require any extra components apart from the built-in tools in MIT App Inventor.
Step-by-Step Guide:
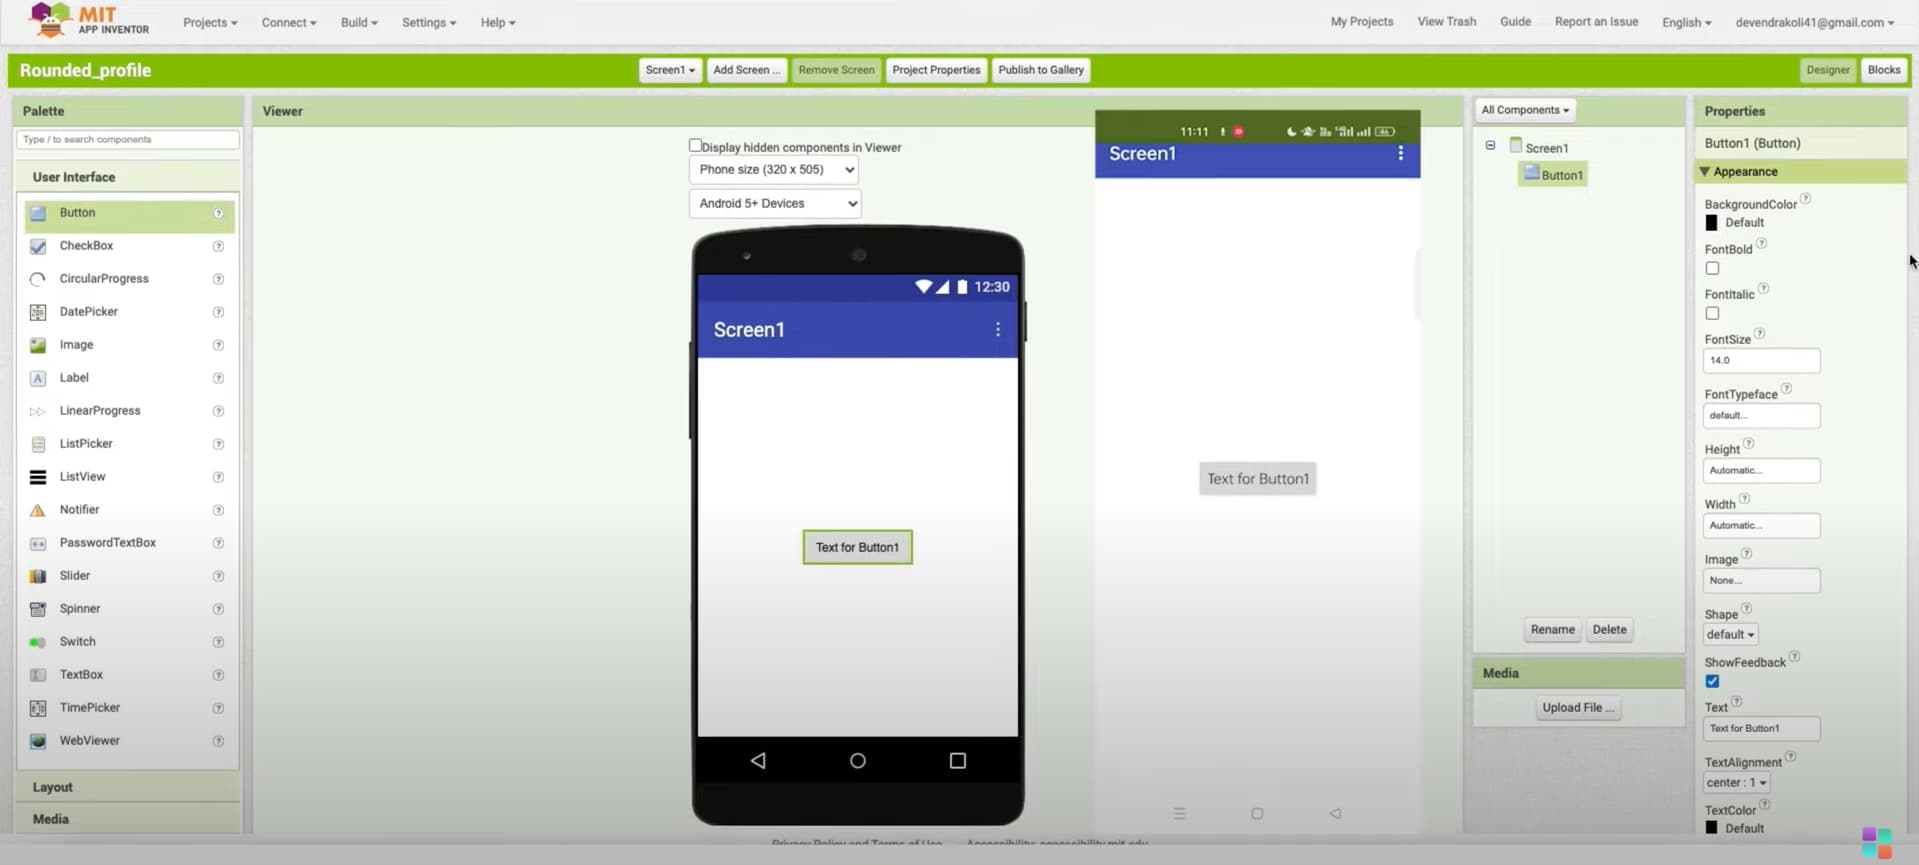
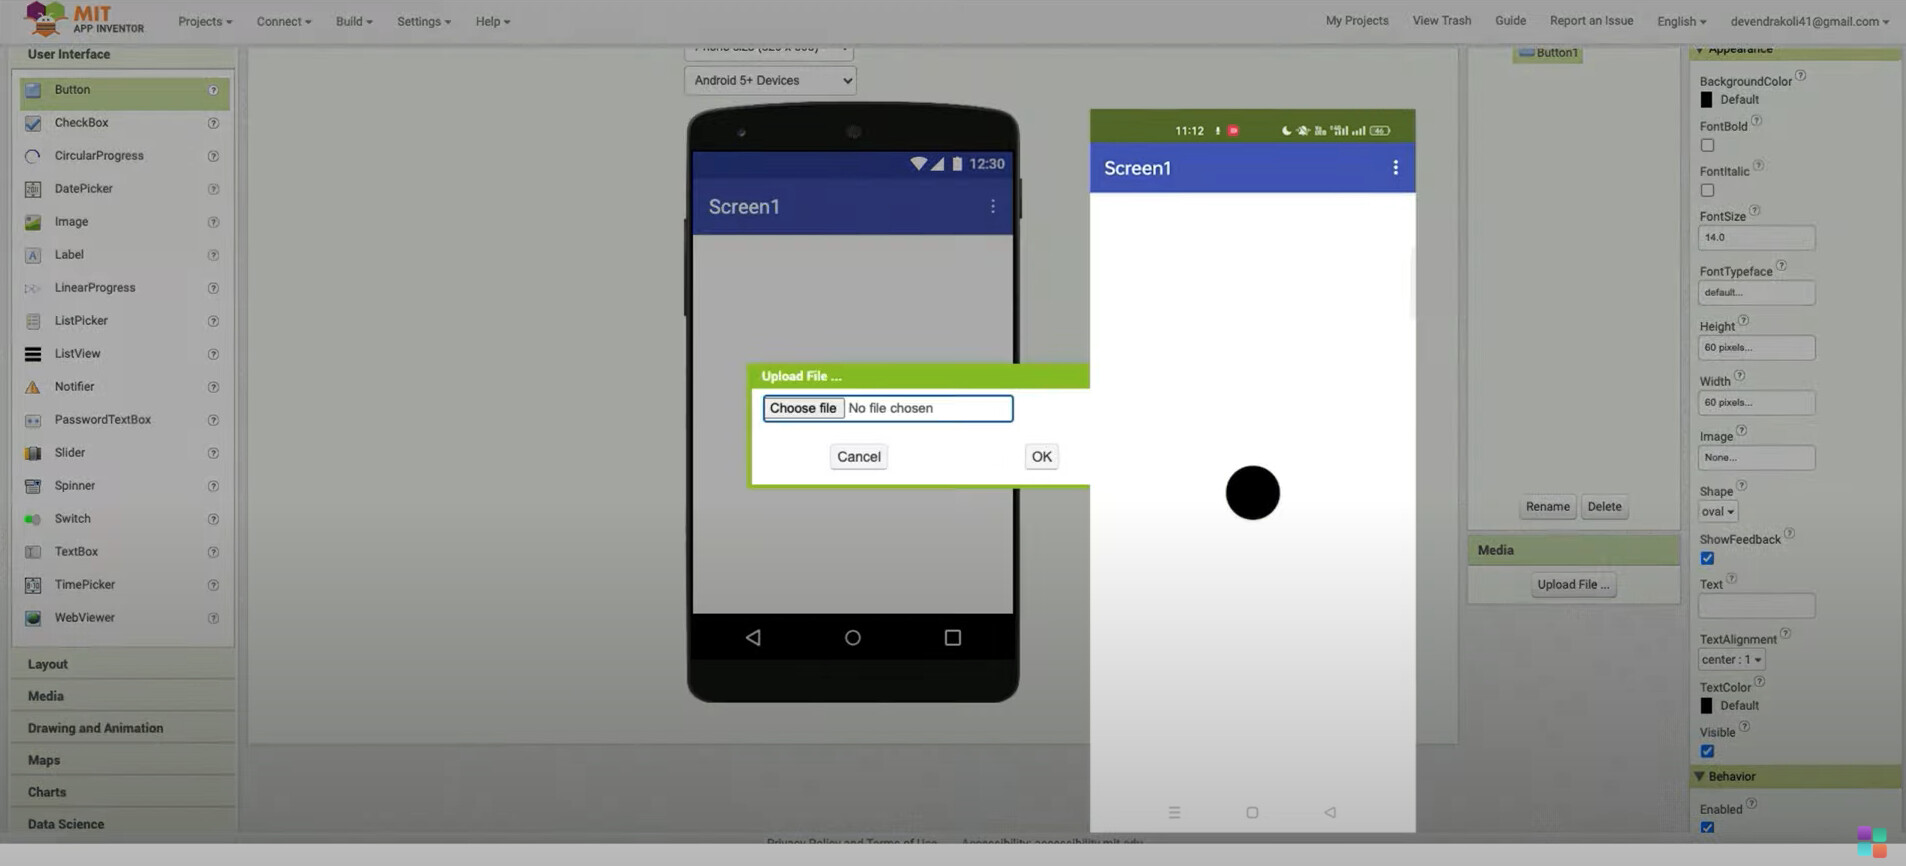
Step 1: Drag a Button Component
- Go to the Designer section in MIT App Inventor.
- Drag a Button component onto the screen.
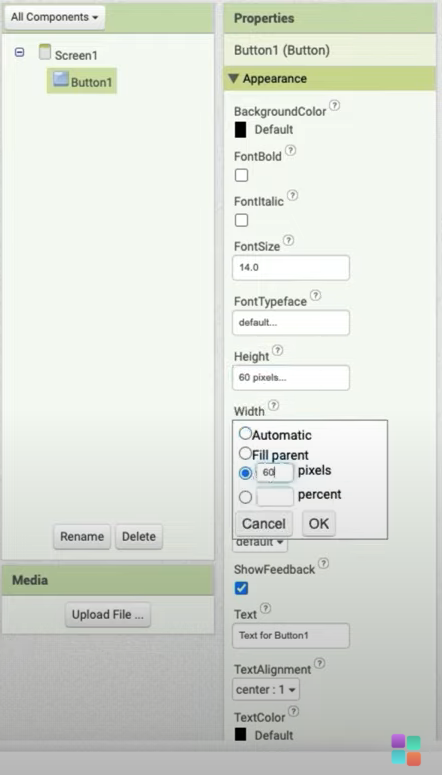
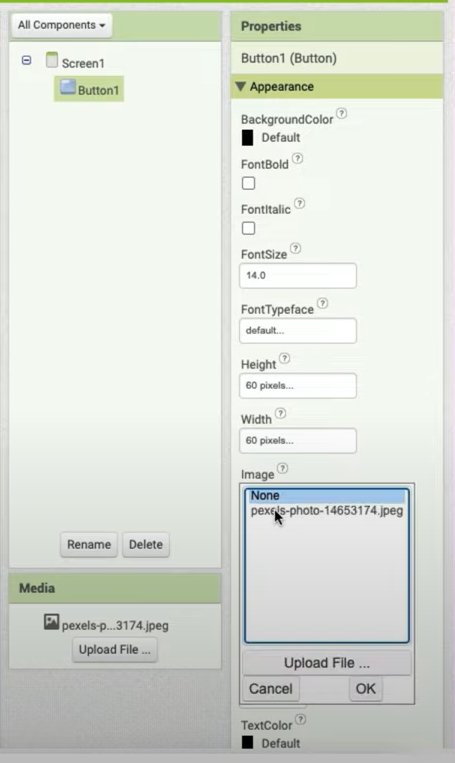
Step 2: Set Width and Height
- Set the Width and Height of the button to 60 pixels (px).
- You can adjust this size depending on how big you want the circular image to be.
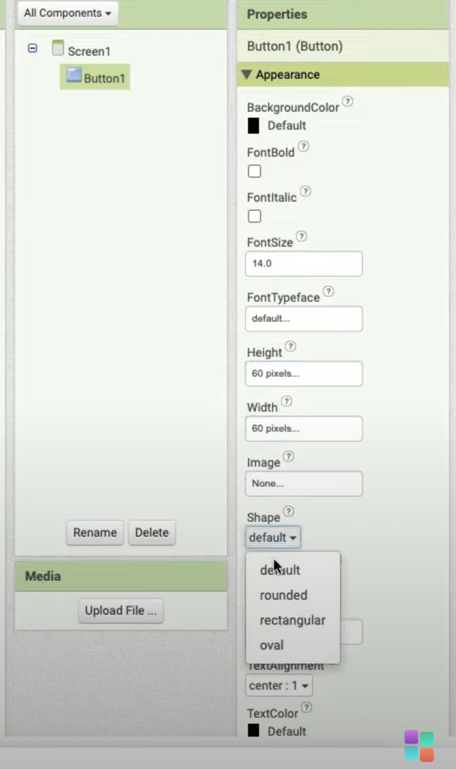
Step 3: Change the Button Shape
- In the button’s properties, find the Shape option.
- Set it to Oval (this will make it rounded).
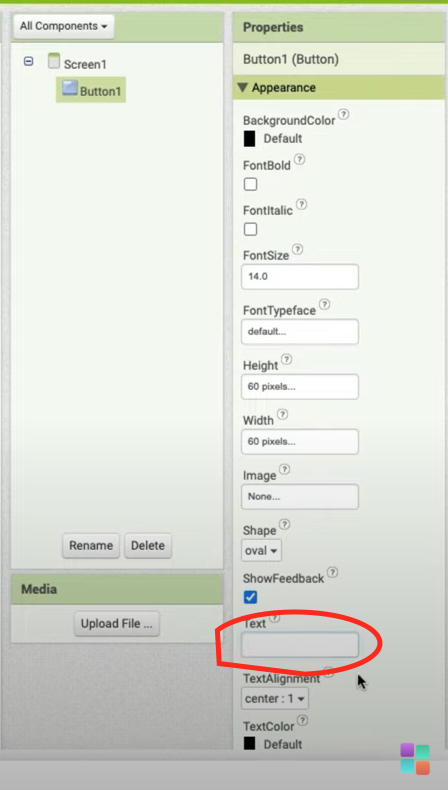
Step 4: Remove Button Text
- Since we are using this button to display an image, we do not need any text.
- In the properties, clear the Text field so that no text appears on the button.
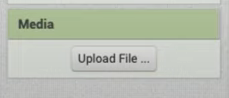
Step 5: Upload and Set the Image
There are two ways to set the image:
- Using Assets (Offline Method)
- Upload your image to the Media (Assets) section in MIT App Inventor.
- Set the Image property of the button to the uploaded image.
- Using Blocks (Online Method)
- If you want to use an image from an online source, you can set the image dynamically using blocks:
- Use the Button1.Image block and set it to the image URL you want to display.
Result:

Bonus Tip:
- You can increase the width and height if you need a larger circular profile image.
- To maintain a perfect circle, always ensure the Height and Width are equal.
Watch the Video Tutorial:
If you prefer a video explanation, you can watch it here: Click Here To Watch
Aia File:
Rounded_profile (1).aia (391.1 KB)
Hope this guide helps! Let me know if you have any questions.
Was This Helpfull?
- Yes
- No
0
voters