🧩 TextAnimator
An extension for Kodular/MIT App Inventor 2.Advanced Text Animator with dropdown menus for animation and interpolator types.
 Specifications
![]() Package: com.jsr.textanimator
Package: com.jsr.textanimator
![]() Size: 32.92 KB
Size: 32.92 KB
![]() Minimum API Level: 1
Minimum API Level: 1
![]() Updated On: 2025-12-13T18:30:00Z
Updated On: 2025-12-13T18:30:00Z
![]() Built & documented using: FAST v5.3.2-premium
Built & documented using: FAST v5.3.2-premium
Specila Thanks: @JEWEL for his wounderful Extension building platform which bulds extension in no time. Multiple options are there for our skill level.
Extension : com.jsr.textanimator.aix (33.5 KB)
Used Library: No Lib is used in this extn, only helper java file for dropdown using this thread
TextAnimator Extension: A User Guide & Best Practices
This guide explains the core concepts and best practices for using the TextAnimator extension to create fluid, professional animations in your apps.
Core Concept: What vs. How
The extension offers two primary animation blocks. Understanding the difference is key to unlocking its full potential.
AnimateTextBlock (The "What")- Usage: Use this for 90% of your animation needs. It's simple, direct, and powerful.
- What it does: It controls WHAT animation is applied to your text (e.g., Fade In, Slide In, Bounce).
- Benefit: Perfect for standard entrance effects and general-purpose animations. It's the quickest way to get started.
AnimateTextWithInterpolatorBlock (The "What" AND "How")- Usage: Use this when you want to add a layer of polish and personality to your animations.
- What it does: It controls WHAT animation is applied AND HOW it behaves over time. The "How" is defined by the
interpolatorType. - Benefit: An interpolator changes the acceleration of an animation, making it feel more natural and dynamic. For example, a
SlideInLeftanimation with aBounceinterpolator will slide in and then bounce gently at the end, creating a much more engaging effect than a simple linear slide.
Feature Spotlight: The Animation Queue
The animation queue allows you to create a "playlist" of animations that will execute one after another automatically.
- How it Works:
- Use the
QueueAnimationblock to add multiple animations to a list. This does not start them. - Use the
ProcessNextQueuedAnimationblock to start the first animation in the queue. - When an animation finishes, the next one in the queue will automatically start.
- Use the
- When to Use It:
- Creating a complex introduction sequence when a screen opens.
- Showing a series of messages or instructions without user interaction.
- Combining different animation styles on the same text element.
Animation & Interpolator Cheat Sheet
Animation Types (animationType)
- For Entrance Effects:
FadeIn,SlideInLeft/Right/Top/Bottom,Bounce,ScaleIn. These are perfect for making UI elements appear smoothly. - For Drawing Attention:
Pulse,Shake,Glitch,Rainbow,Wave. Use these to highlight an important notification, a button the user needs to press, or a score update. - For Stylish Text Display:
Typewriter(great for dialogue or story text),MarqueeLeft(for long, scrolling headlines).
Interpolator Types (interpolatorType) - The "Feeling"
Linear: Robotic, constant speed. (Default)Decelerate: Starts fast, slows down for a smooth, gentle stop. (Feels calm and professional).Accelerate: Starts slow, speeds up. (Feels quick and responsive).Bounce: Bounces at the end. (Feels playful and fun).Anticipate: Moves back slightly before starting. (Feels like it's "winding up" for action).Overshoot: Goes past the end point and settles back. (Feels snappy and dynamic).
Best Practices & Pro-Tips
- Use the
AnimationCompletedEvent: This is your most powerful tool for logic. TheAnimationCompletedevent block triggers after a non-repeating animation finishes. Use it to:
- Show a new element immediately after one has finished animating in.
- Enable a button only after a welcome message has finished typing out.
- Chain together a sequence of different actions.
- Don't Overdo It: Animation is great, but too much can be distracting or slow down your app. Use it purposefully to guide the user's attention and provide feedback, not just for decoration.
- Adjust Global Speed with
AnimationSpeed: If you find all your animations are too slow or too fast, use theAnimationSpeedproperty. Setting it to2.0will make all animations twice as fast, while0.5will make them half as fast. This is much easier than changing the duration for every single block. - Initialize Once: Make sure you call the
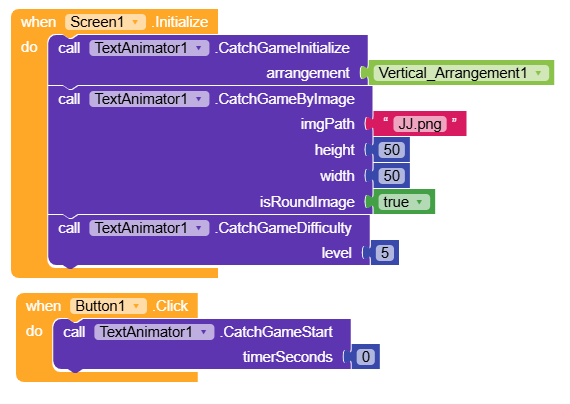
Initializeblock only once, typically in theScreen.Initializeevent. Calling it multiple times can cause errors.
Blocks
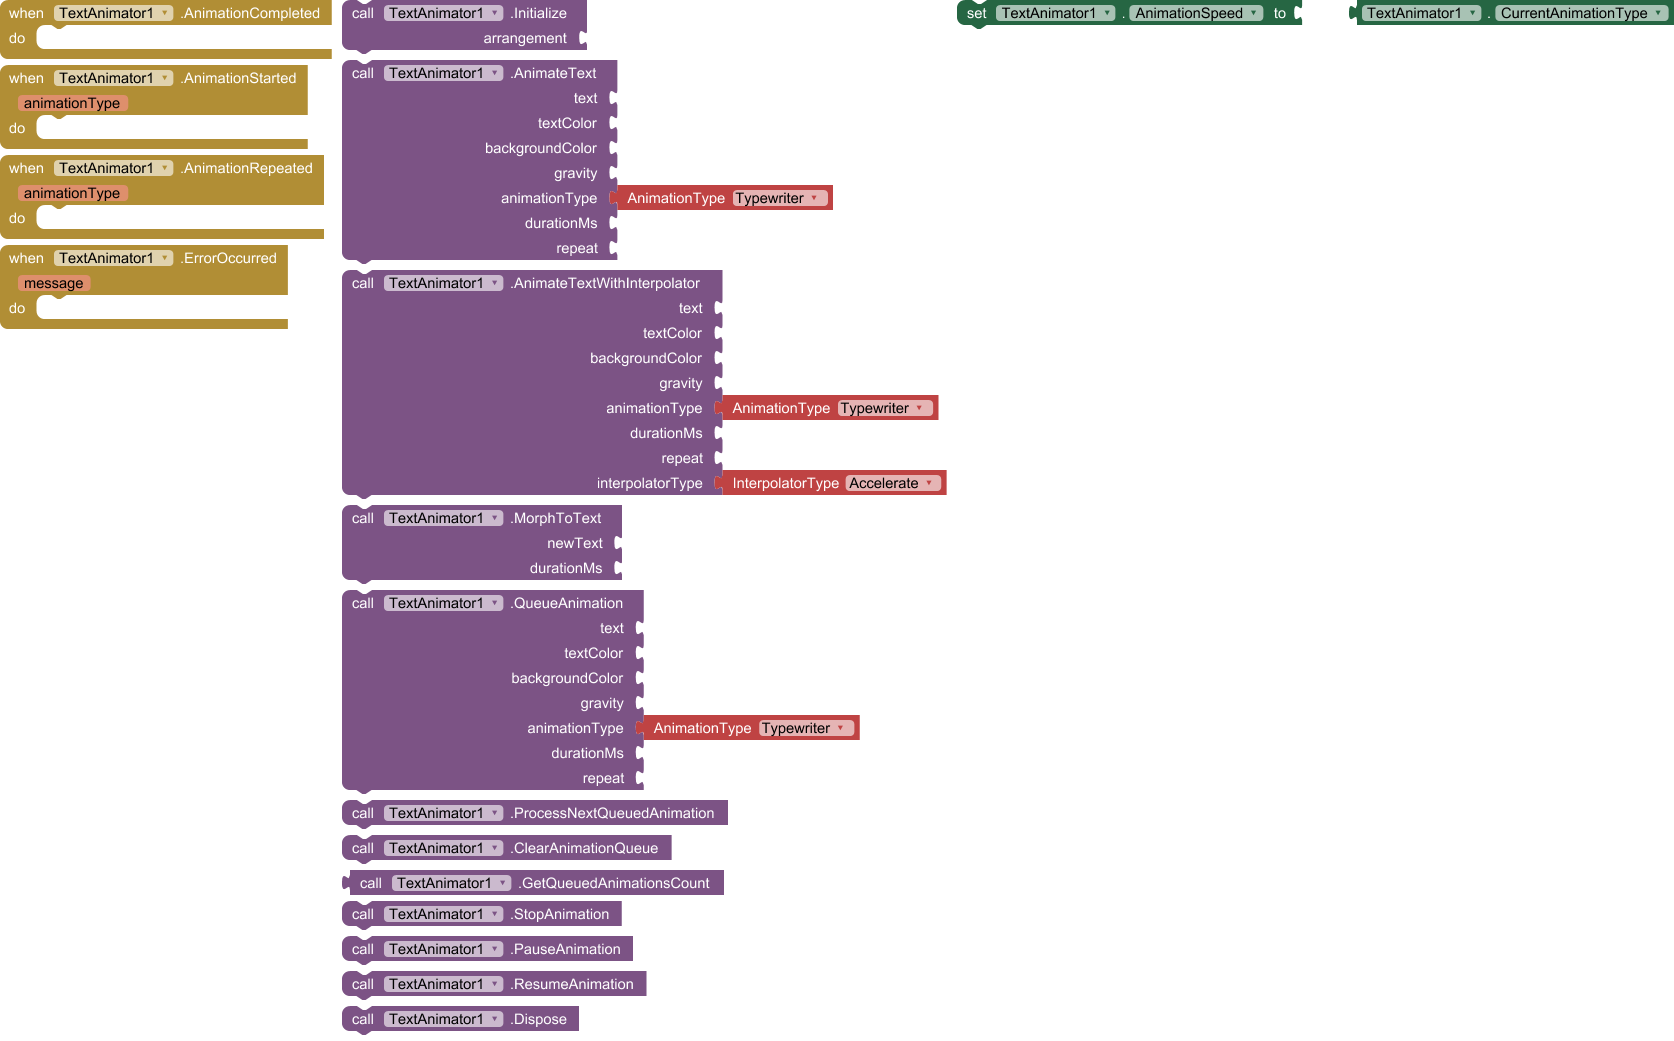
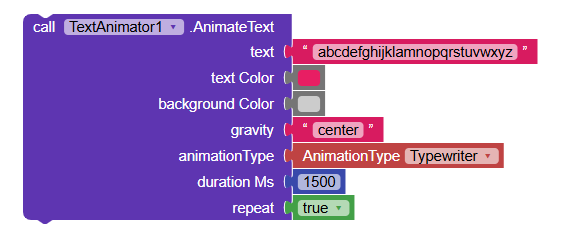
Sample block
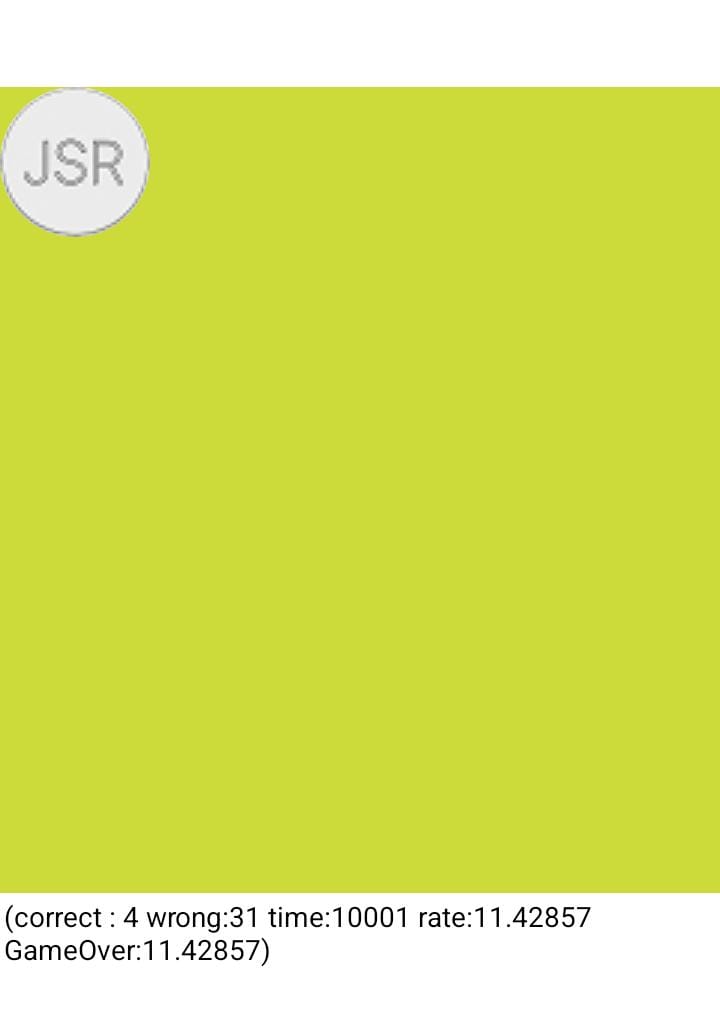
Certain functions can be achieved using without extension but i was just trying to make them to do with little amount of blocks. I find no problme while compiling, and opening the apk. If any function is not working pls do not fail to mention here, i will try to give a quick fix if it is needed. holidays was over. Let we focus on leaning. ![]()
Still_Learning