1.- Upload and save an image file as a BLOB.
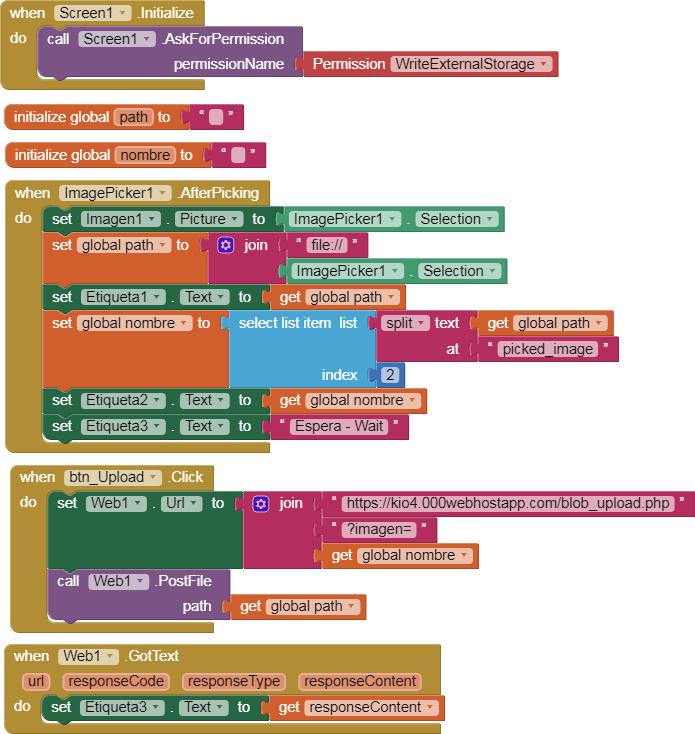
Using ImagePicker we select an image, we obtain its path and name.
We upload the image using the file blob_upload.php and PostFile.
p366i_mysqli_imagenes_blob.aia (3.1 KB)
PHP:
We connect to the database. We get the file using $ file = file_get_contents ('php://input');
We save the file as a BLOB in the database.
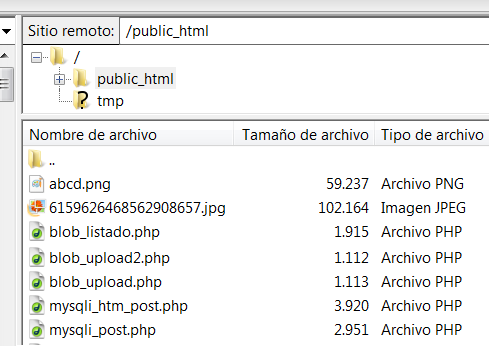
In addition we also save the file in the current directory.
blob_upload.php
<?php
 // 1.- IDENTIFICACION nombre de la base, del usuario, clave y servidor
$db_host="localhost";
$db_name="id1975555_data_base"; // fake
$db_login="id1975555_juan"; // fake
$db_pswd="Contraseña"; // fake

// 2.- CONEXION A LA BASE DE DATOS
$link = new mysqli($db_host, $db_login, $db_pswd, $db_name);

if ($link->connect_error) {
    die("Error de conexión: " . $link->connect_error);
} else {

// 3.- OBTENER ARCHIVO - GET FILE
  $file = file_get_contents('php://input');
   if (file_put_contents($_GET['imagen'],$file == TRUE))  {

		$nombre = $_GET['imagen'];
		$extension = pathinfo($nombre, PATHINFO_EXTENSION);
		// $extension = mime_content_type($nombre);

		// Archivo a MySQLi. BLOB. - File to MysQLi BLOB.
		$blob = mysqli_real_escape_string($link, $file);
		$resultado = mysqli_query($link, "INSERT INTO dibujos(imagen, extension, nombre) VALUES ('$blob', '$extension', '$nombre')");

		if ($resultado) {echo $nombre. " uploaded.";}
		              else {echo "Error: ".msqli_error($link);}

		mysqli_close($link);
   } else {
	echo "Error in GET file";
   }

 }
?>